Here is my DIY on the installation of the Bushwacker Pocket Style Fender Flares. It seems like a pretty straight forward installation, but there are some parts to it that need attention so you don't eff it up.
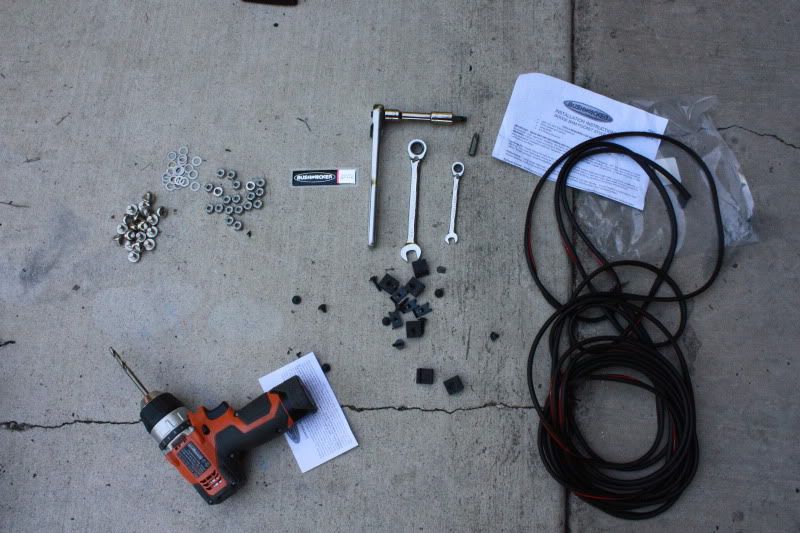
First, start out by laying out all your parts. You should have 4 flares, (of course, unless you are installing these on a Dually, then you only need the front.) And a long piece of rubber trim.
Next, CLEAN THE AREA THE FLARES ARE GOING TO COVER. Not just on the outside, but up under the lip of the fender. If not, it will rust over the lifetime of the truck, as this area will most likely not get washed while the flares are installed.
Keep in mind, if you have your rockers lineXed, your flares are going to require some minor trimming to get them to seat flush with the body panels. Your hardware should include
at least:
38 SS torx bit screws
38 Washers
38 Self Locking Nuts
6 S clips for the rear flares
6 small screws
4 phillips head screws
4 small clips
The SS scews are for visual aesthetics only, they don't actually bolt onto the truck itself.
The kit comes with a # T45 Torx bit, but I found it easier to use my own Torx bit with 3/8's ratchet. You will also need a 1/2 inch wrench for the nuts, a #2 phillips head screw driver, a 5/16s drill bit, and a pair of scissors or a razor blade/utility knife.
If you are going to be painting these, you need to drill your holes first, to prevent messing up your paint. I had LineXed mine, so I drilled after wards.
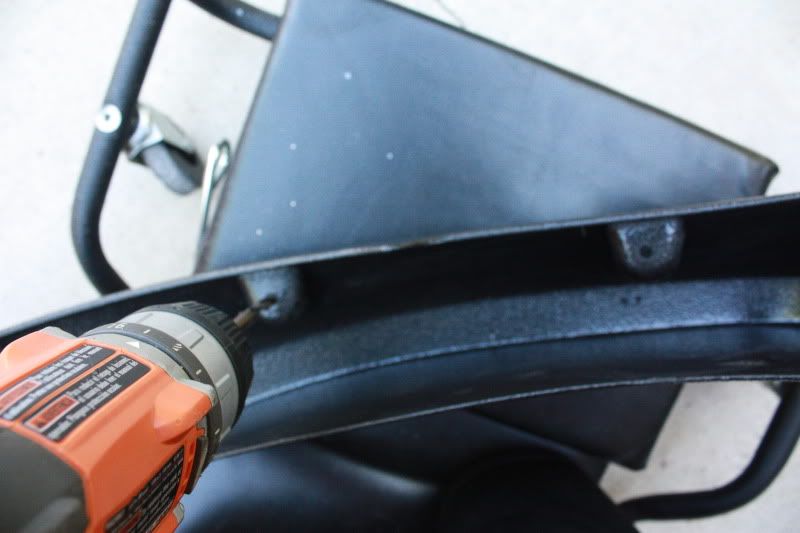
You can see the indentations that are molded into the flares from the backside. These are guides, so it is close to impossible to mess up the drilling process. You are going to drill 38 holes total. If you don't have a 5/16's drill bit, you can also use a 1/4 inch bit, but keep in mind the screws are going to be a tight fit getting into the holes.
After the holes are drilled, you can install the hardware into the pockets.
Here is one side finished ready for installation compared to the other side.
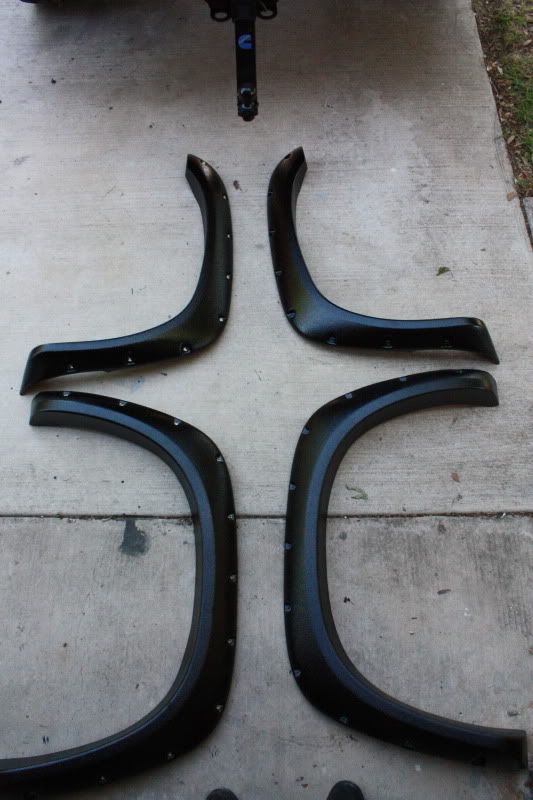
Next, you are going to install the rubber trim to the flares. Untwist and unknot the long strand of rubber trim before installing it to the flares. It makes it much easier to move around to the contours of the flare. You have plenty of trim and some extra for all 4, so don't worry about cutting the trim short. Do not peel the backing off until you have the trim all the way on there. Once you have the trim cut, then you can carefully peel the backing off, while keeping the trim seated on the flare.

Once that is all finished, you are ready to install the flares to the fender.
To install the front flares, (same for both sides,) you are going to need to remove the stock 8MM hardware (3 EA) in the fender liner. Hold the flare into place, and install the center hardware to hold the flare in place. Install the remaining hardware.
The rear flares are a little trickier. I didn't get any pics of the install, because it is hard to take pics and hold a bulky flare and install hardware all at the same time.
If you have rear fender well liners, you will not need the small clips, or the phillips head screws. Remove the 4 8MM screws holding them in place. If you do not have the rear fender well liners, then install the small clips in the lower holes in the fender lip.
Next, install the 3 S clips per side, along the top lip of the fender well. Be sure to line them up with the holes on the flares. This is where you are going to install the small set screws. Once all of those are in place, you are finished. The S clips have some play in them, so you have a little room to move around to adjust the flares to get the trim to seat against the body.
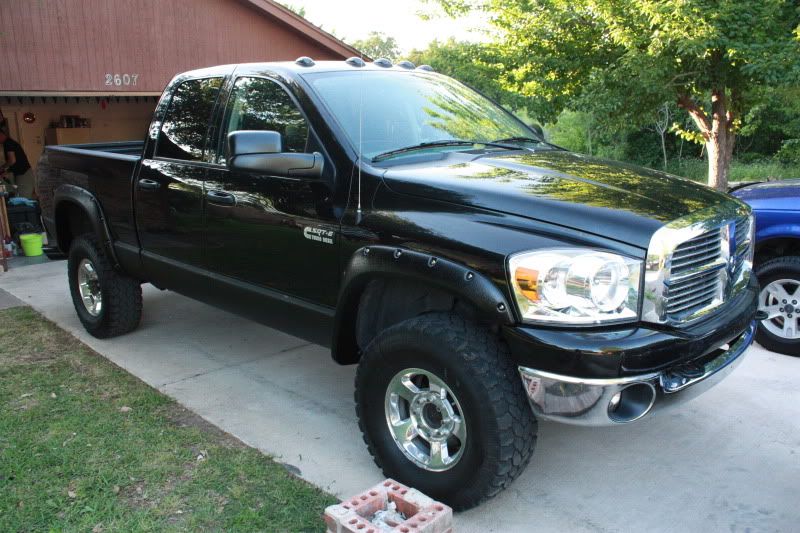
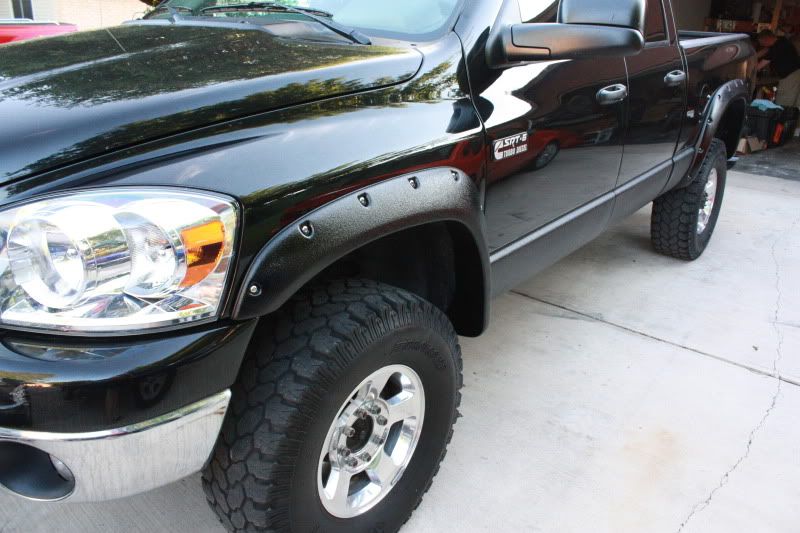
Here is the finished results.
 Topic: Fender Flare installation-3rd Gen Ram (Read 7182 times)