another quick and simple background, this time using the stained glass effect.
step 1open a new project. I happen to be creating a 1000px by 1000px for this example.
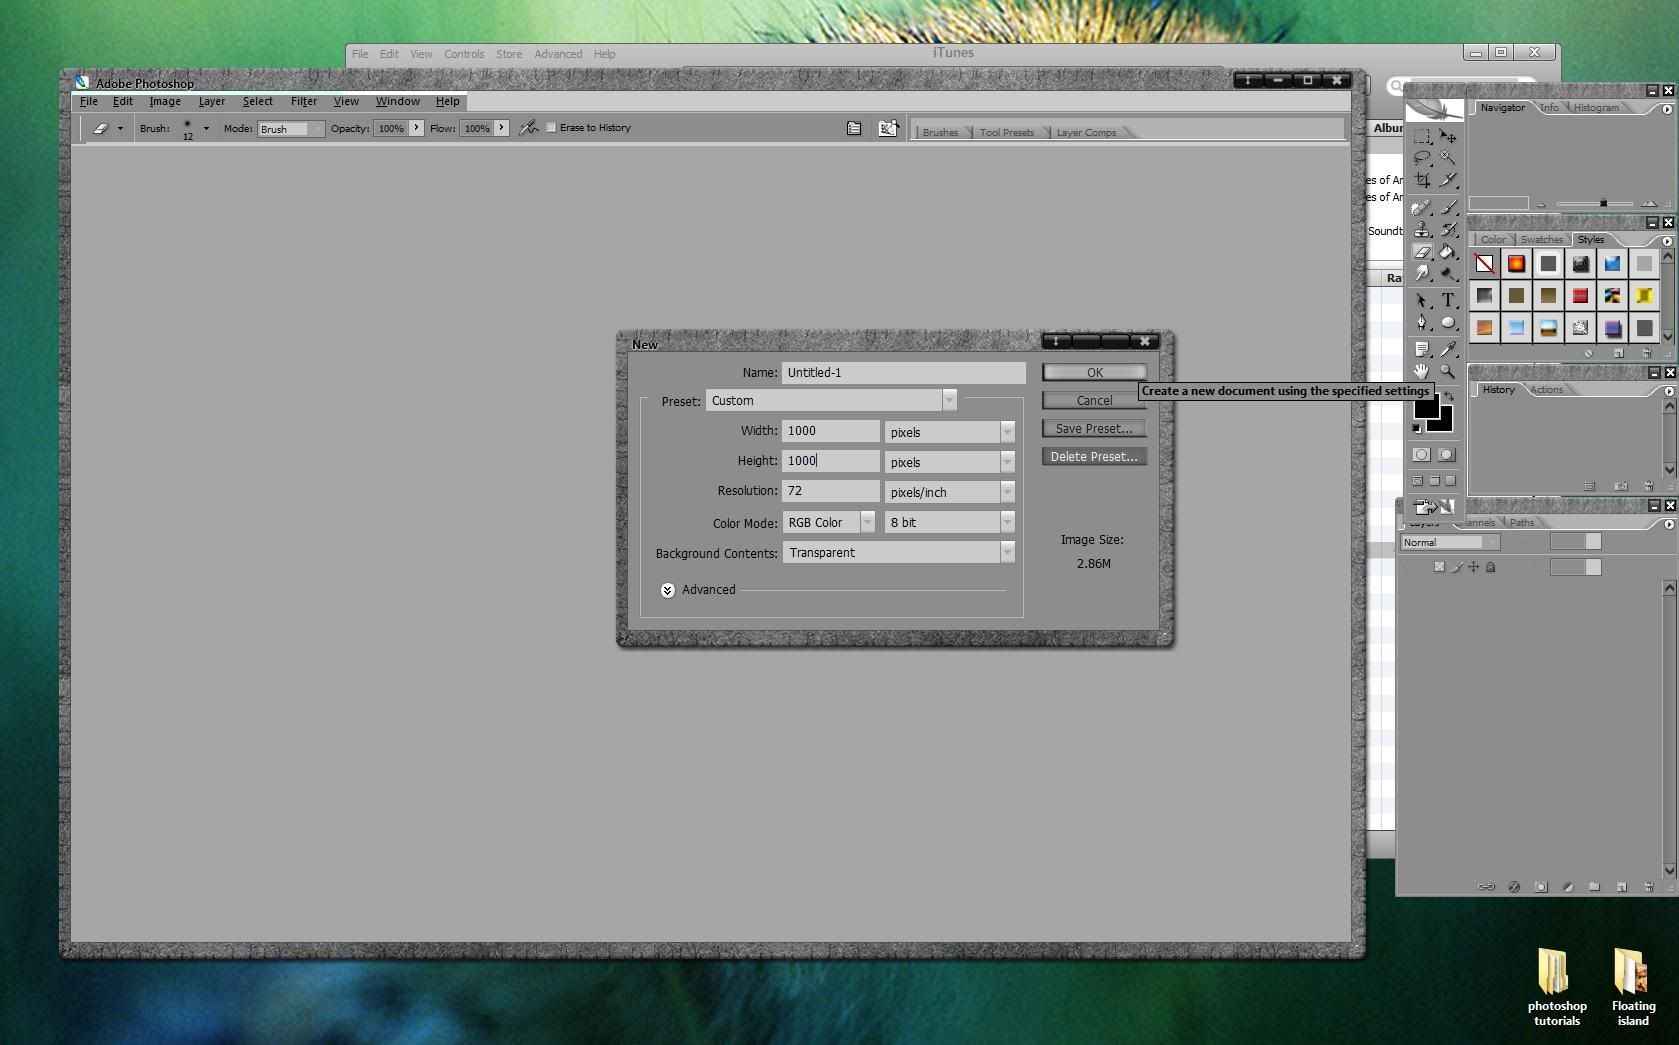 step 2
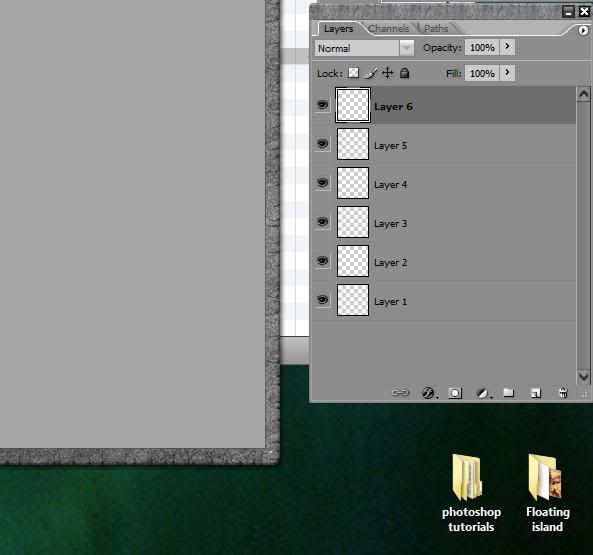
create 4 to 6 blank layers.
 step 3
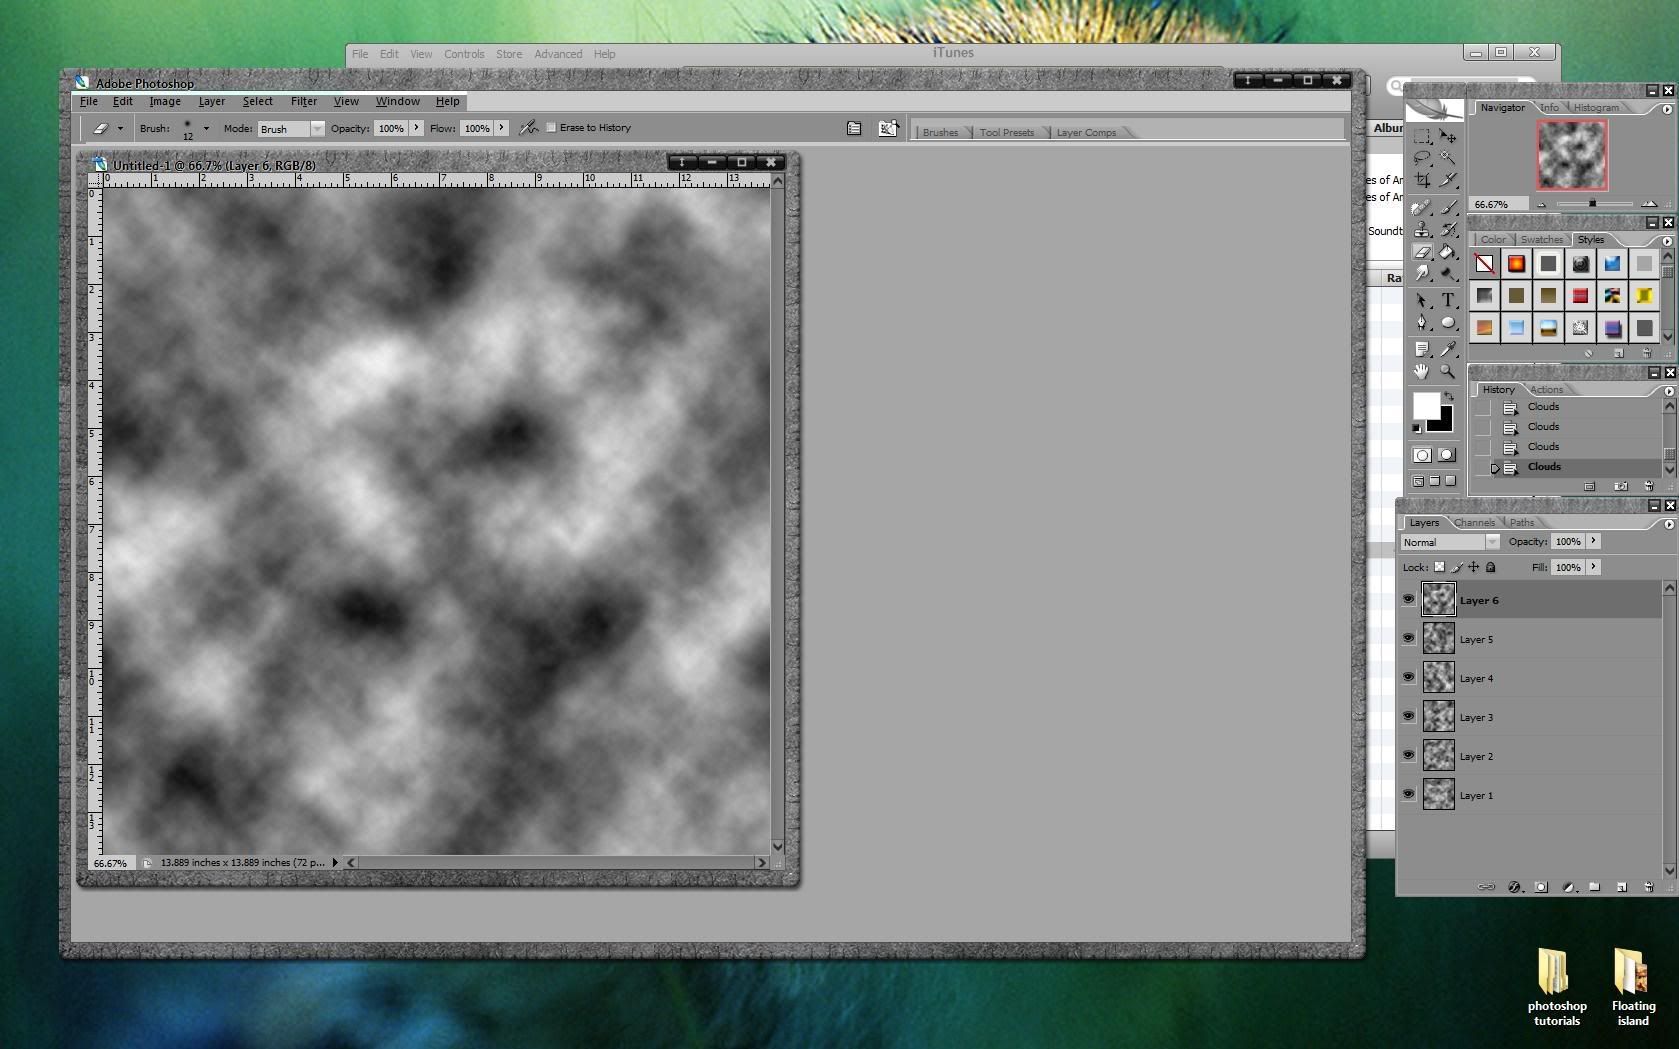
set the foreground color to white and the background color to black. Then render clouds on each layer by selecting
filter>render>clouds.
 step 4
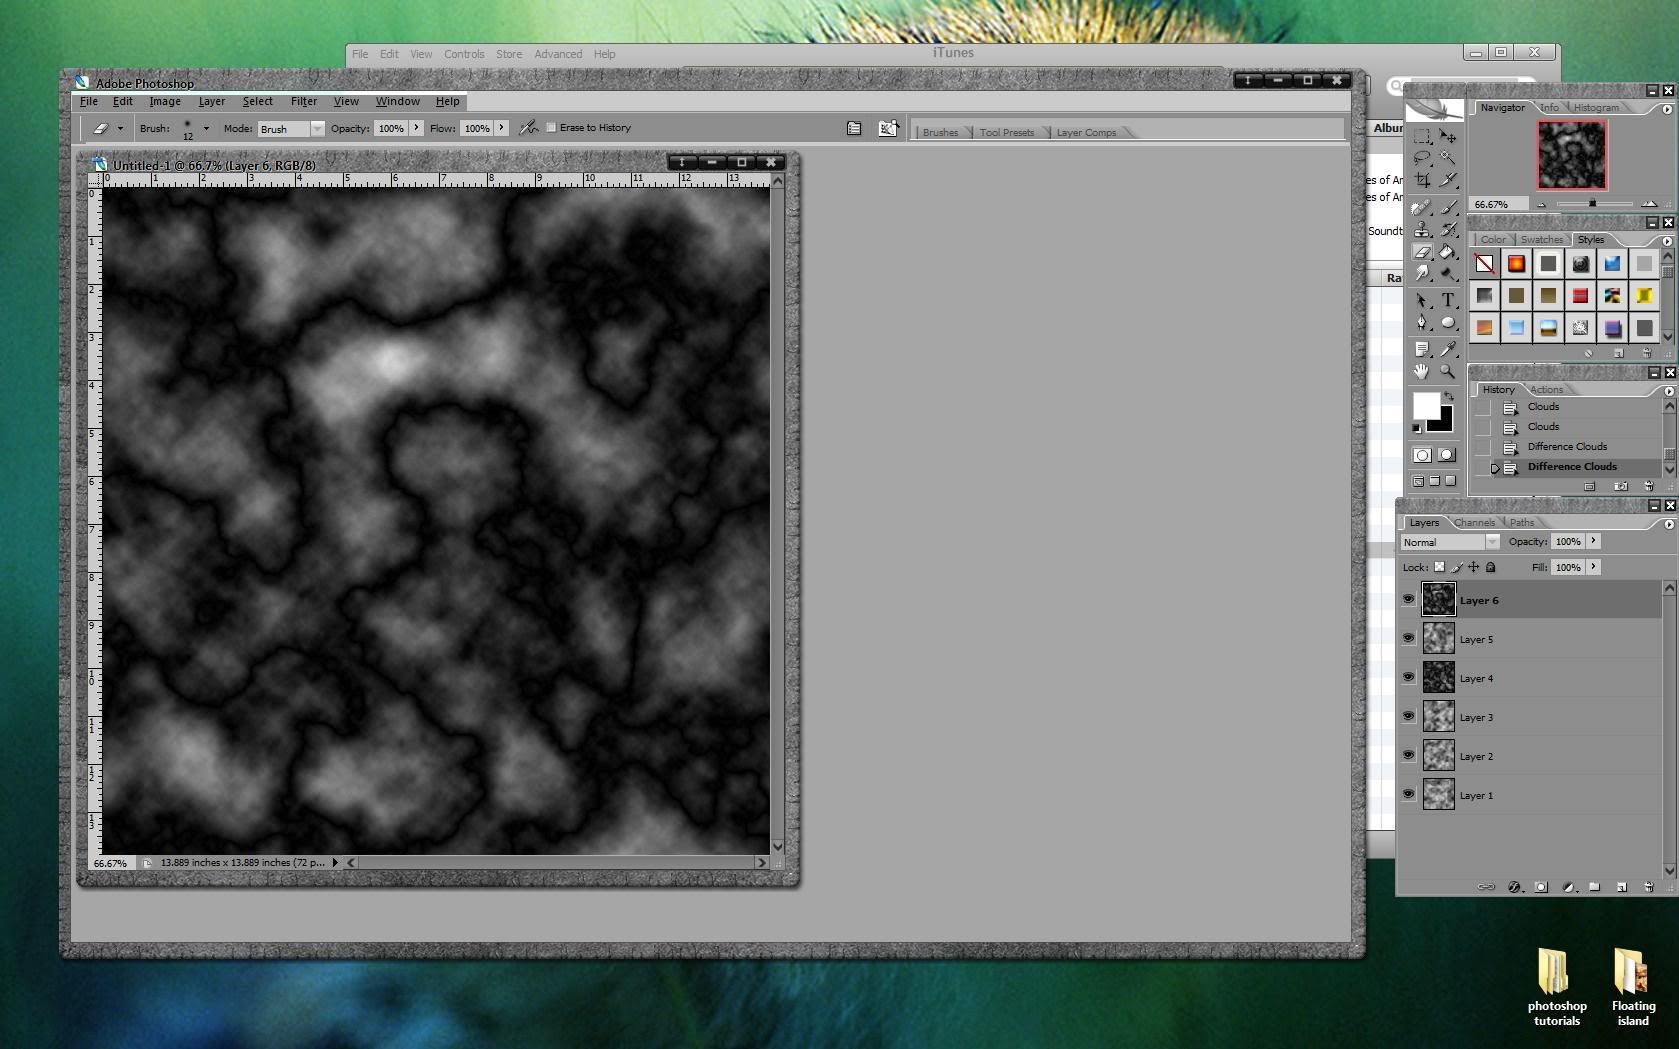
render difference clouds on a few of the layers by selecting
filter>render>difference clouds. I've rendered difference clouds on two of the layers here.
 step 5
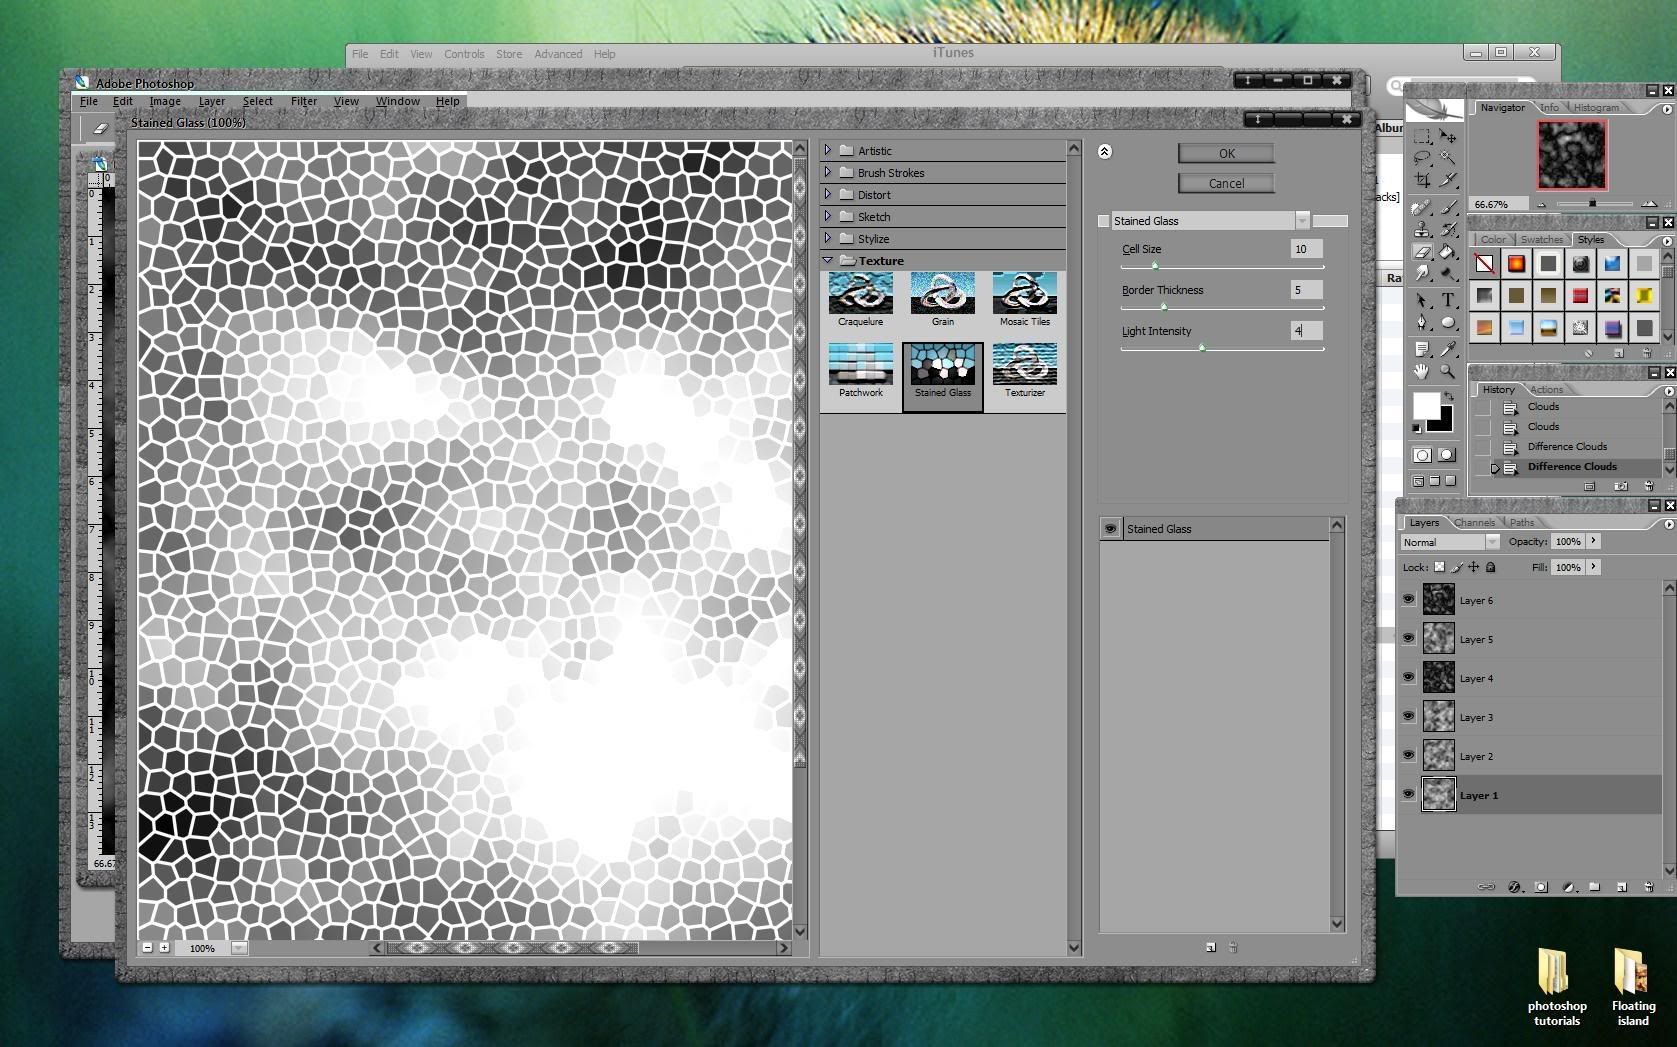
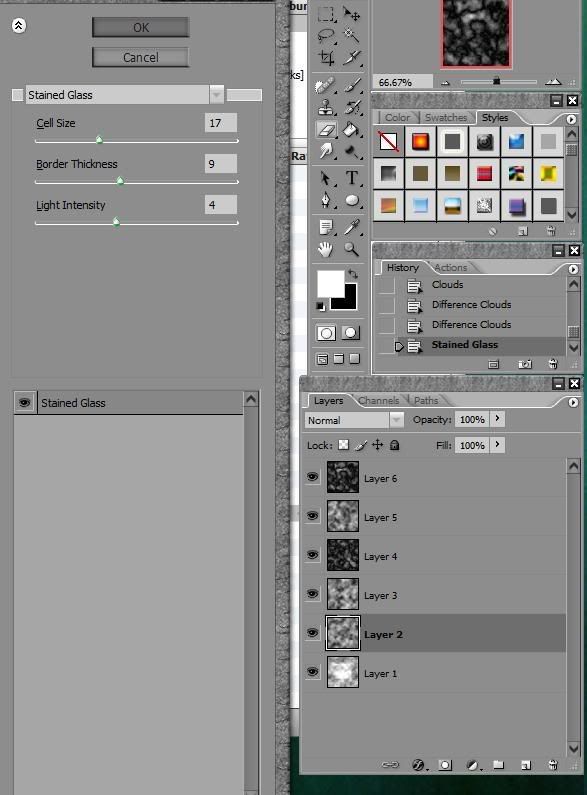
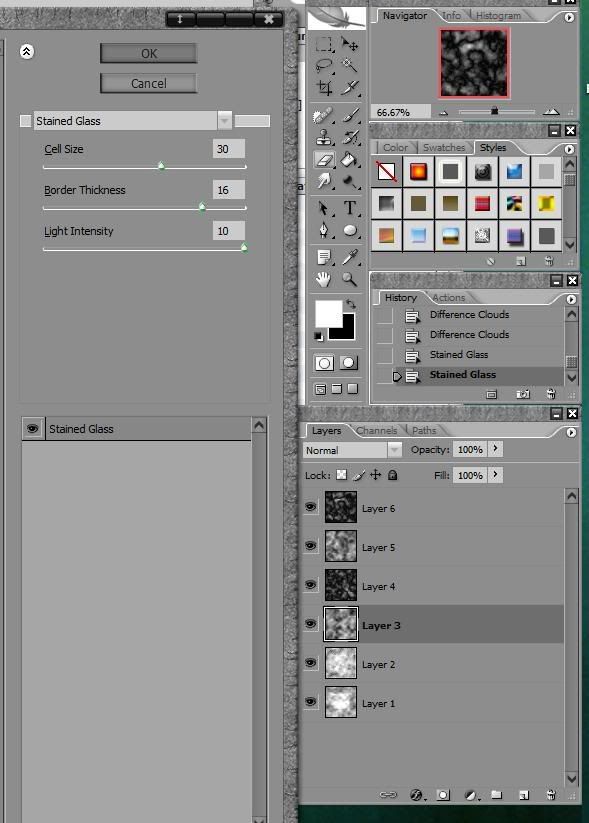
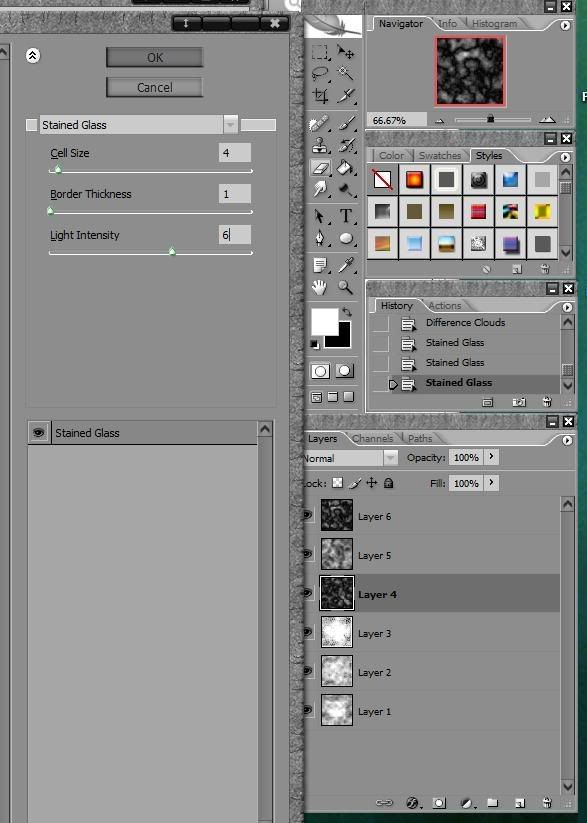
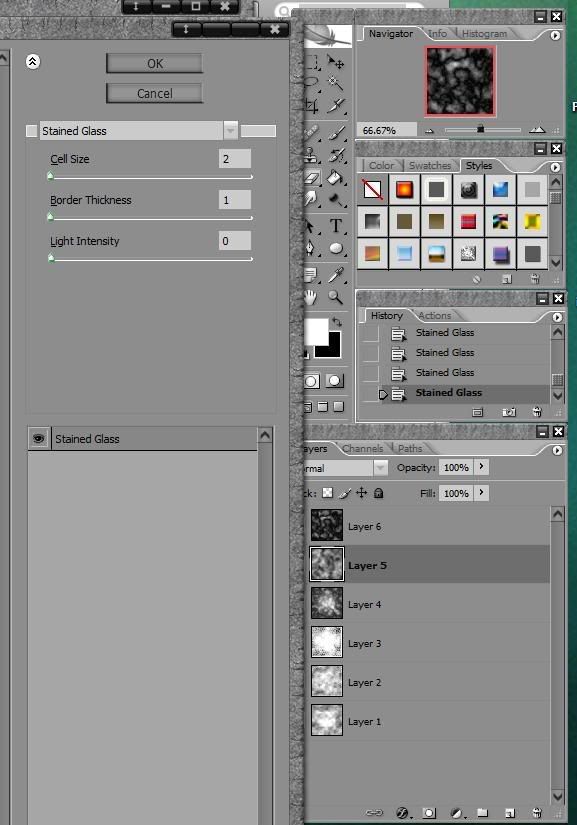
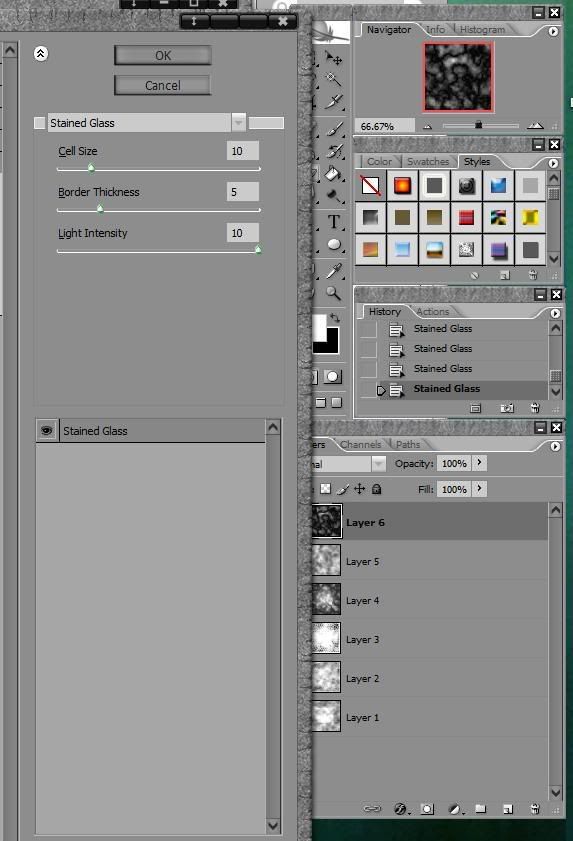
Now apply a stained glass texture to each layer by selecting
filter>texture>stained glass. Here are the settings I've used for each layer. You can use what ever settings you'd like, just be sure to use a wide variety of settings between the layers.
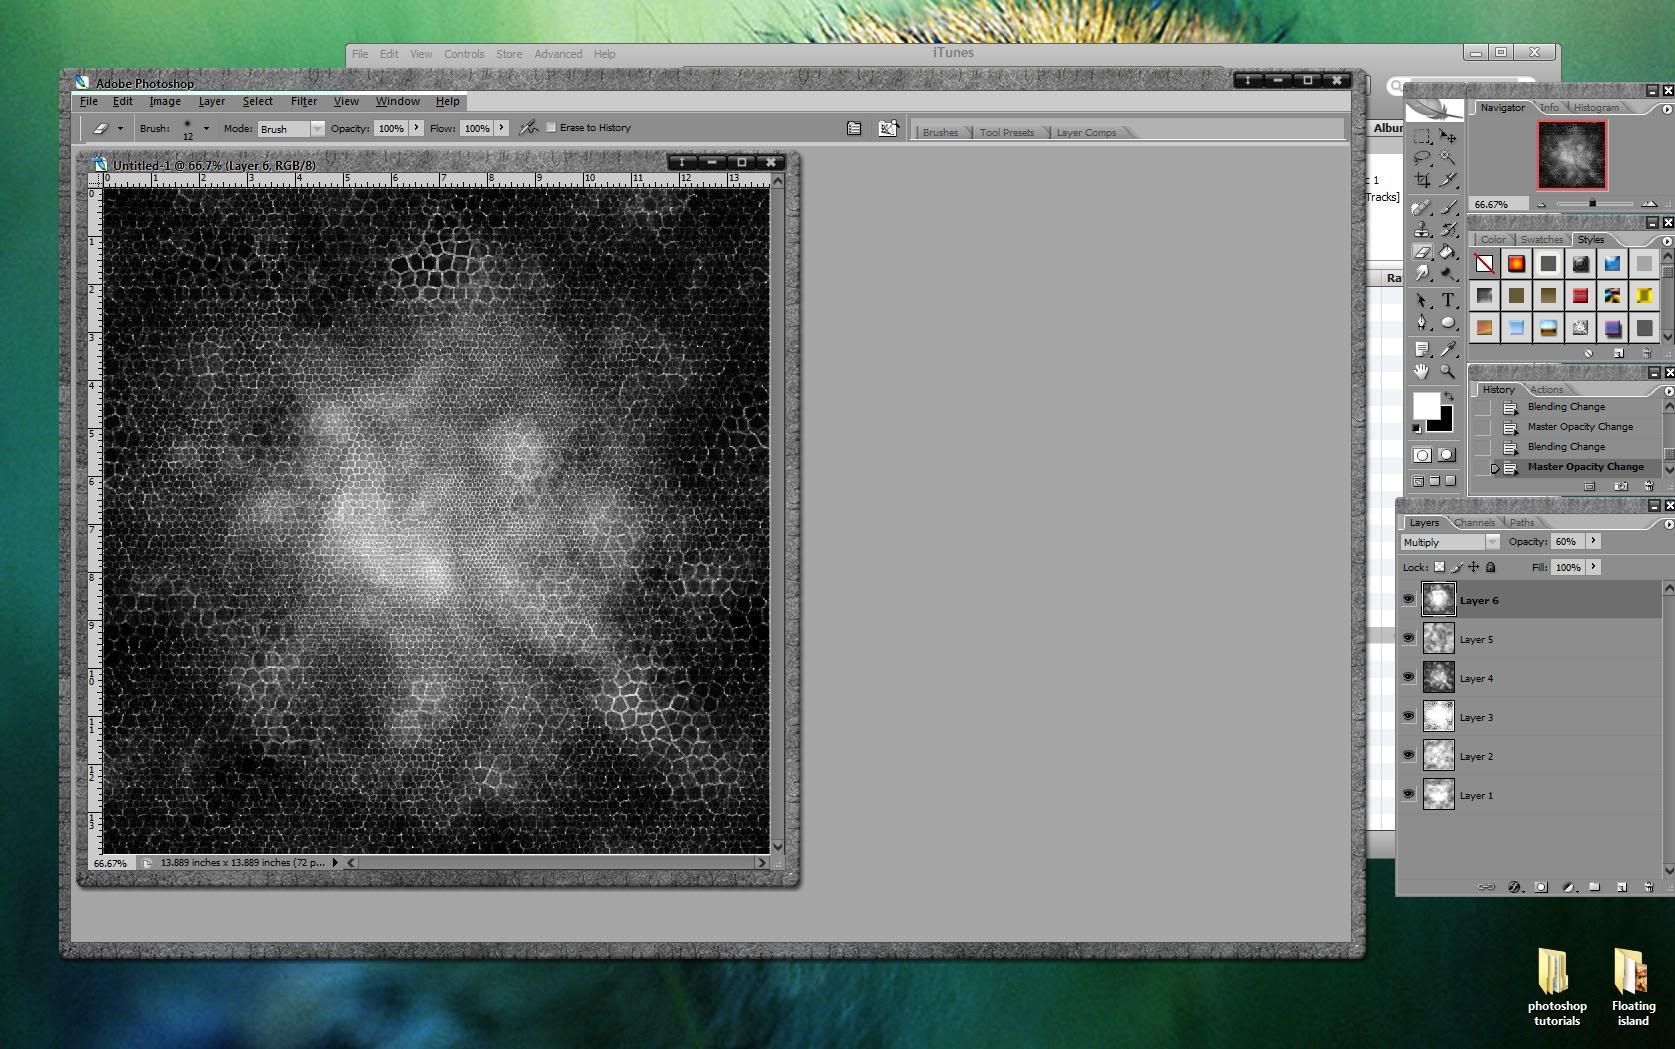
 step 6
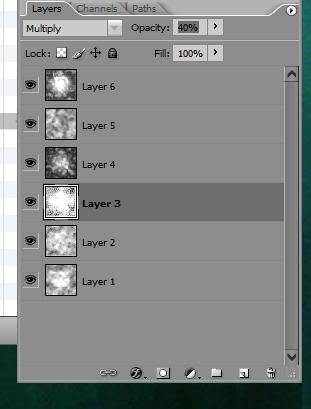
Now set the opacity and blending of each layer. Again, you can use whatever settings you like. I set the layer 2 blending mode to overlay and all others above it to multiply. Then i set the opacity of layers to "random" settings.
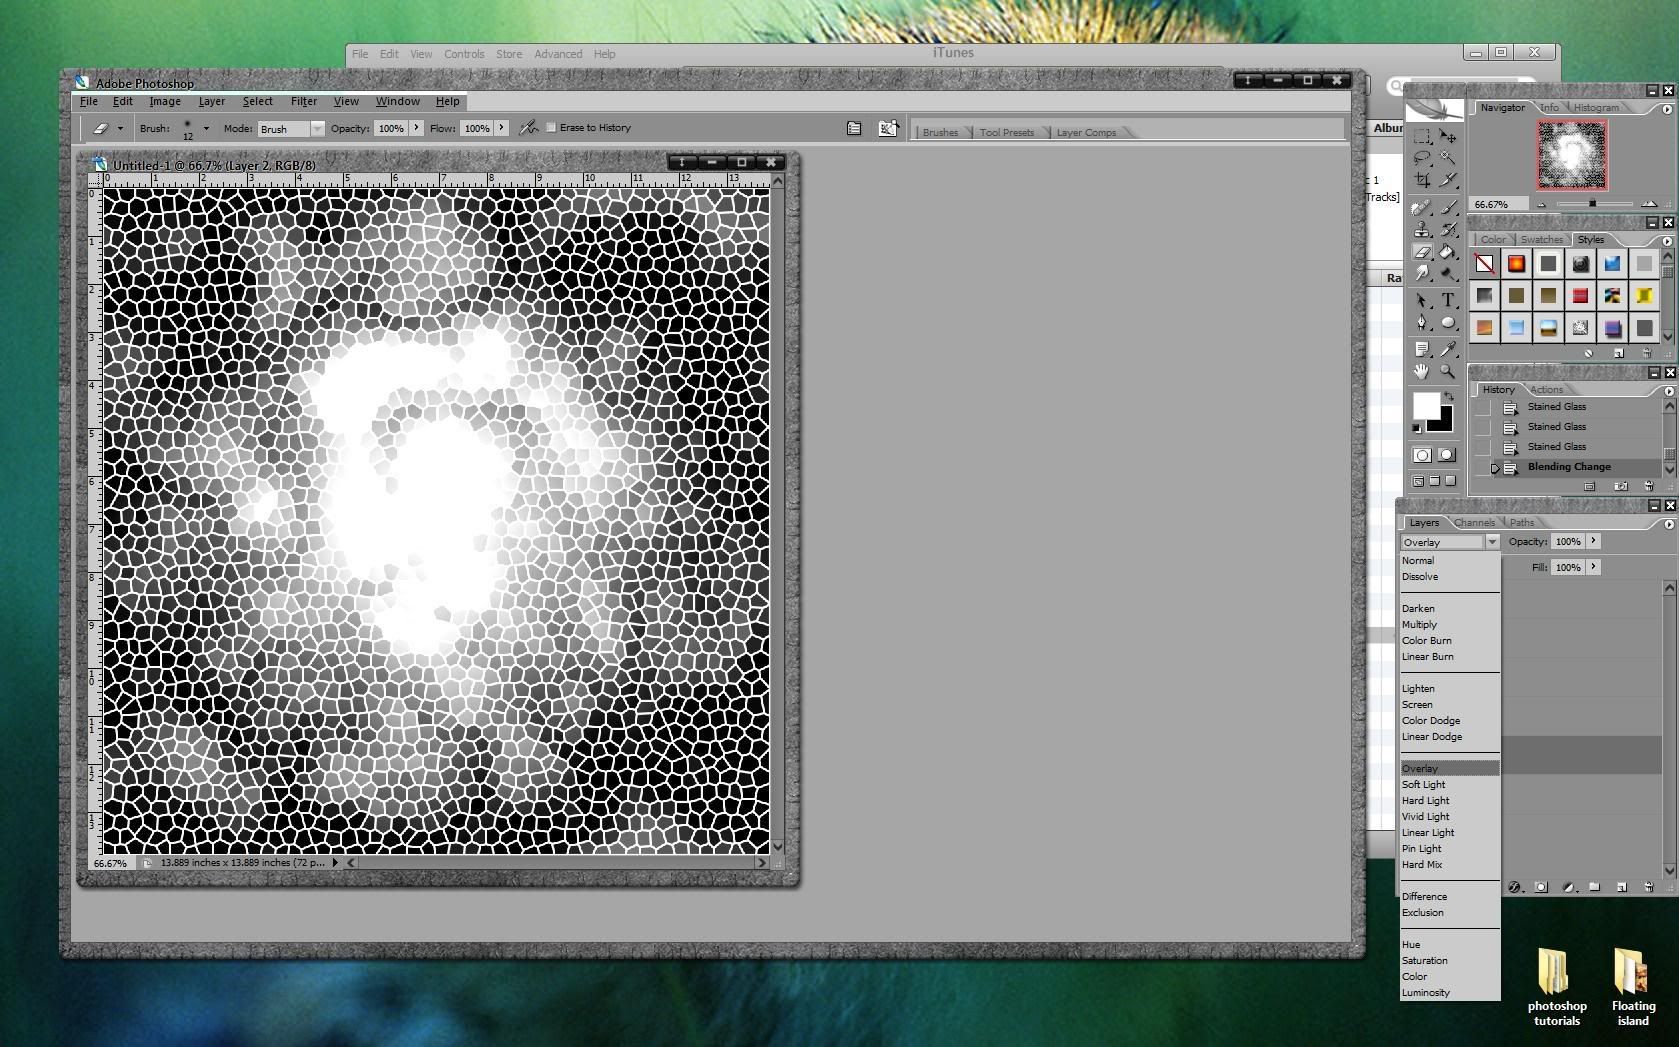
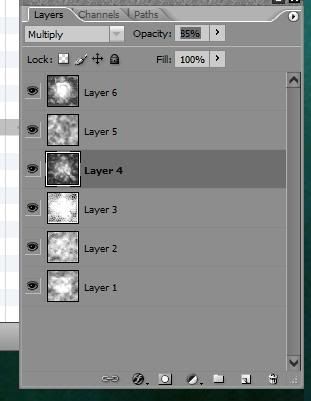

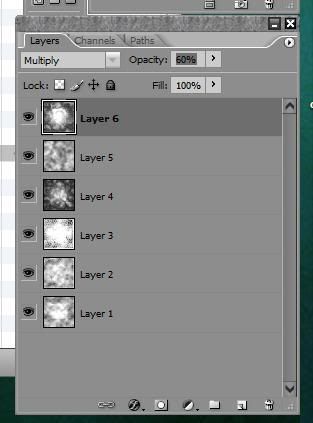
when you're done, you should have something like this.
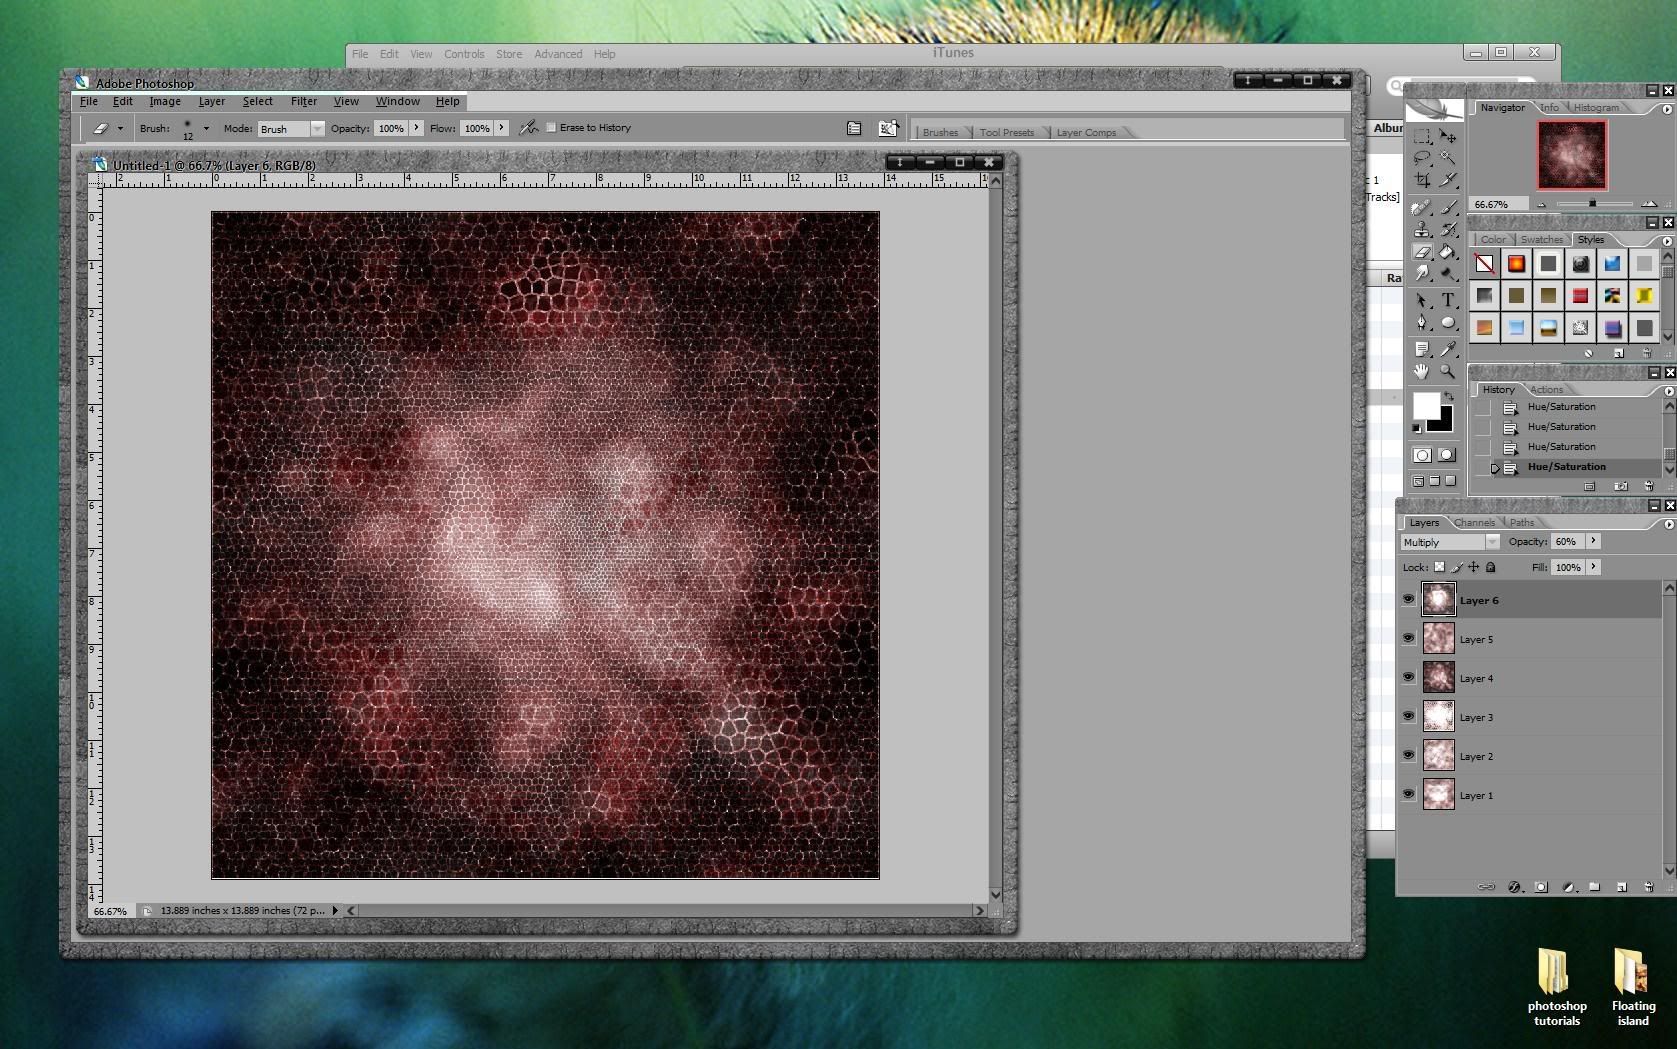
 step 7
Now add some color. Select a layer and press
ctrl+u. Select colorize and then adjust the slider until you get a color you like.
 step 8
repeat step 7 with all the other layers. Here, I've applied the same color to each layer.
 step 9
now add some brightness/contrast to give the image some glow.
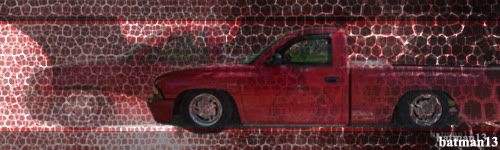
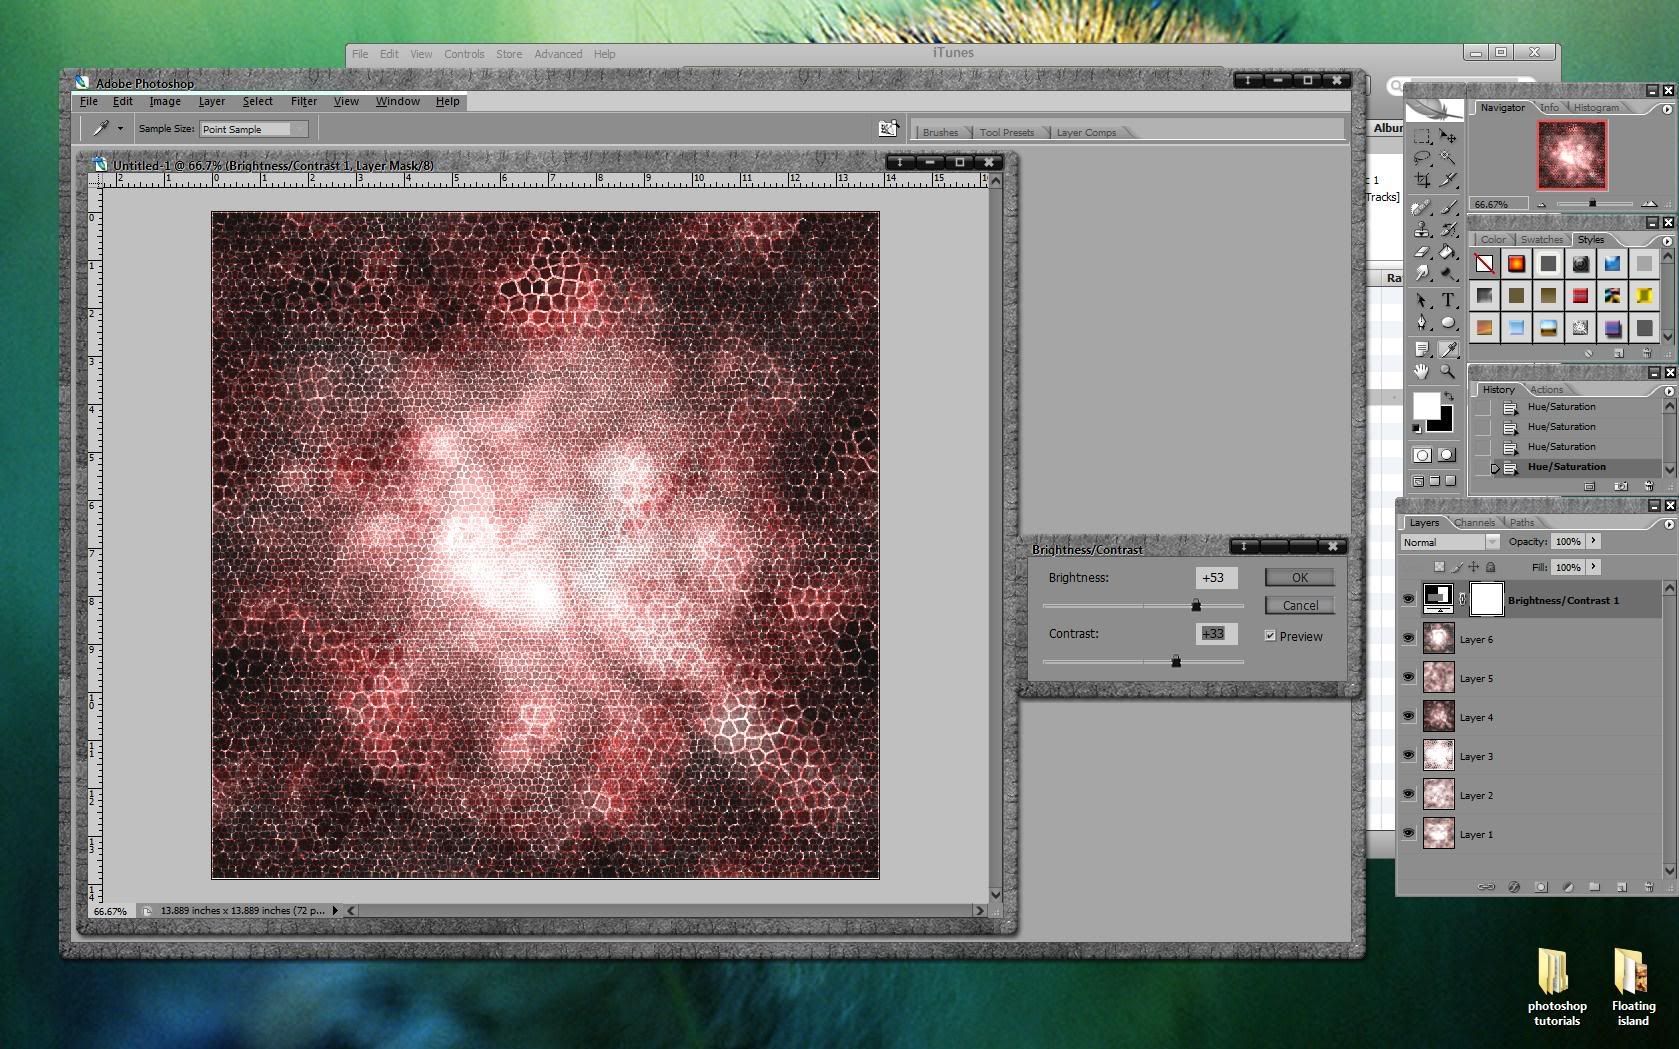 example
here's a quick render using this background.
 Topic: Lesson 7: Stained glass / Abstract cell background (Read 2299 times)