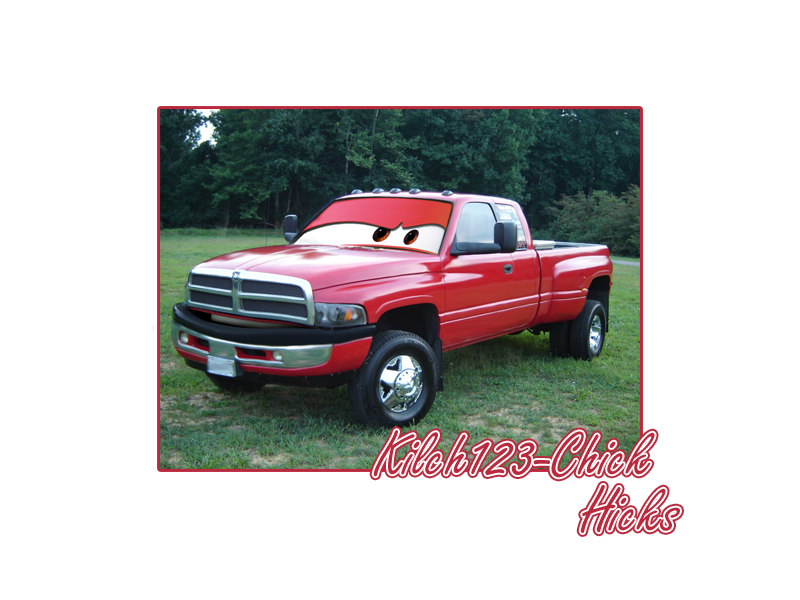
This tutorial will show the basic steps for turning your vehicle into a character from Cars.
Some Cars characters can be found here
http://www.filmtotaal.nl/wallpaper.php?film=11702.
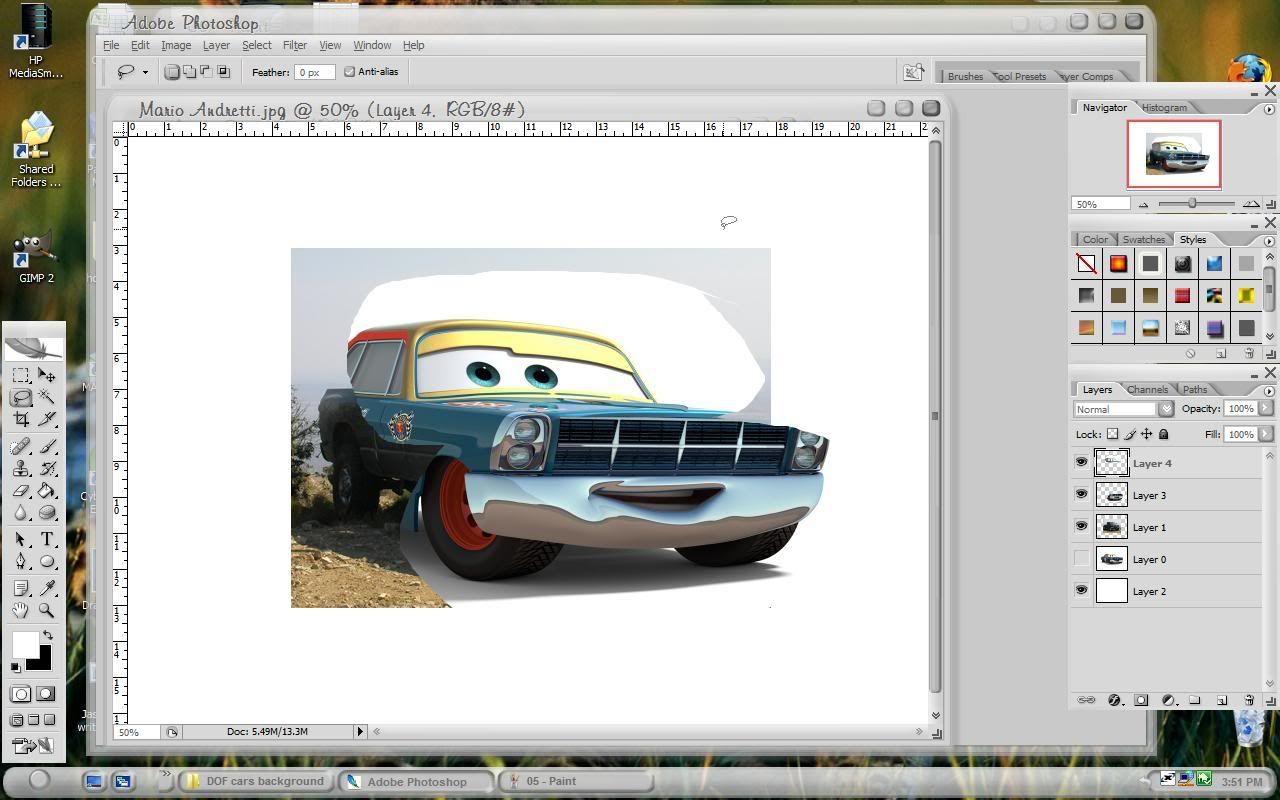
Step 1 Open your vehicle and cars images and combine them into one project.
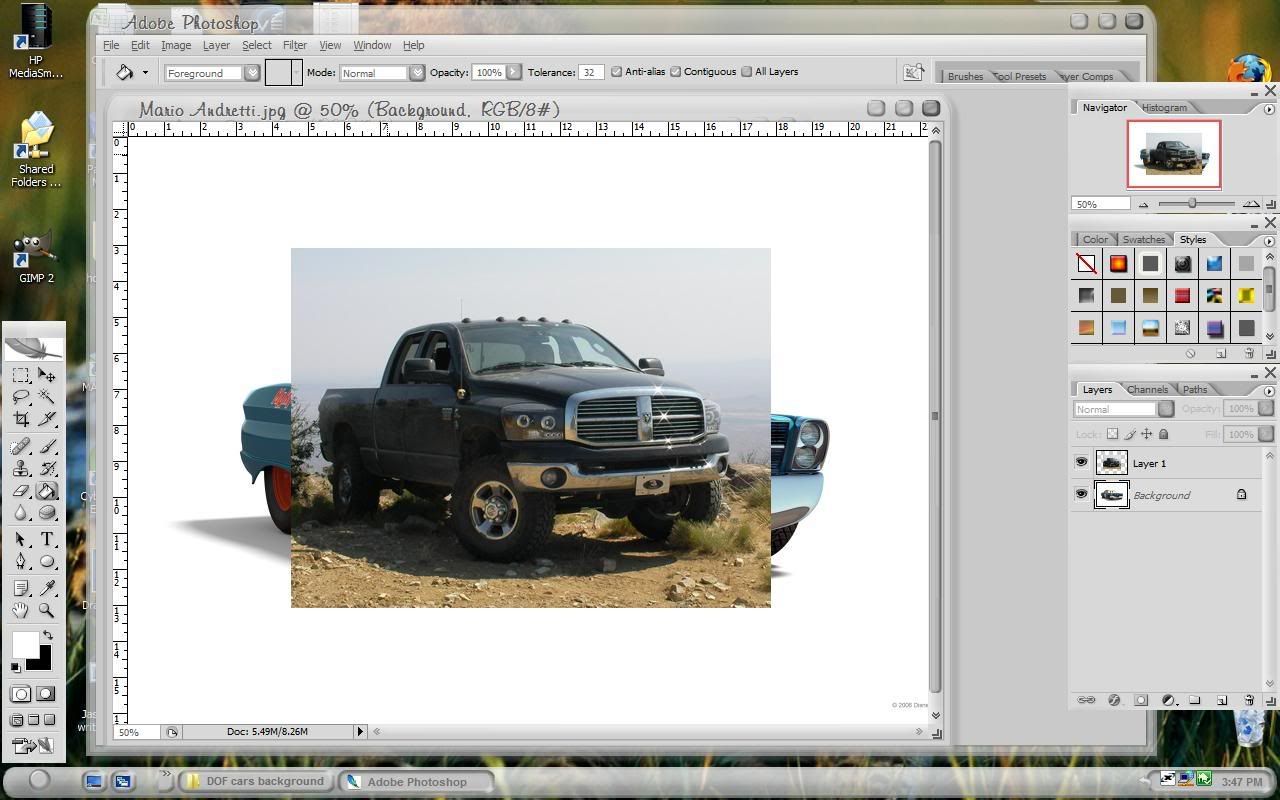 Step 2
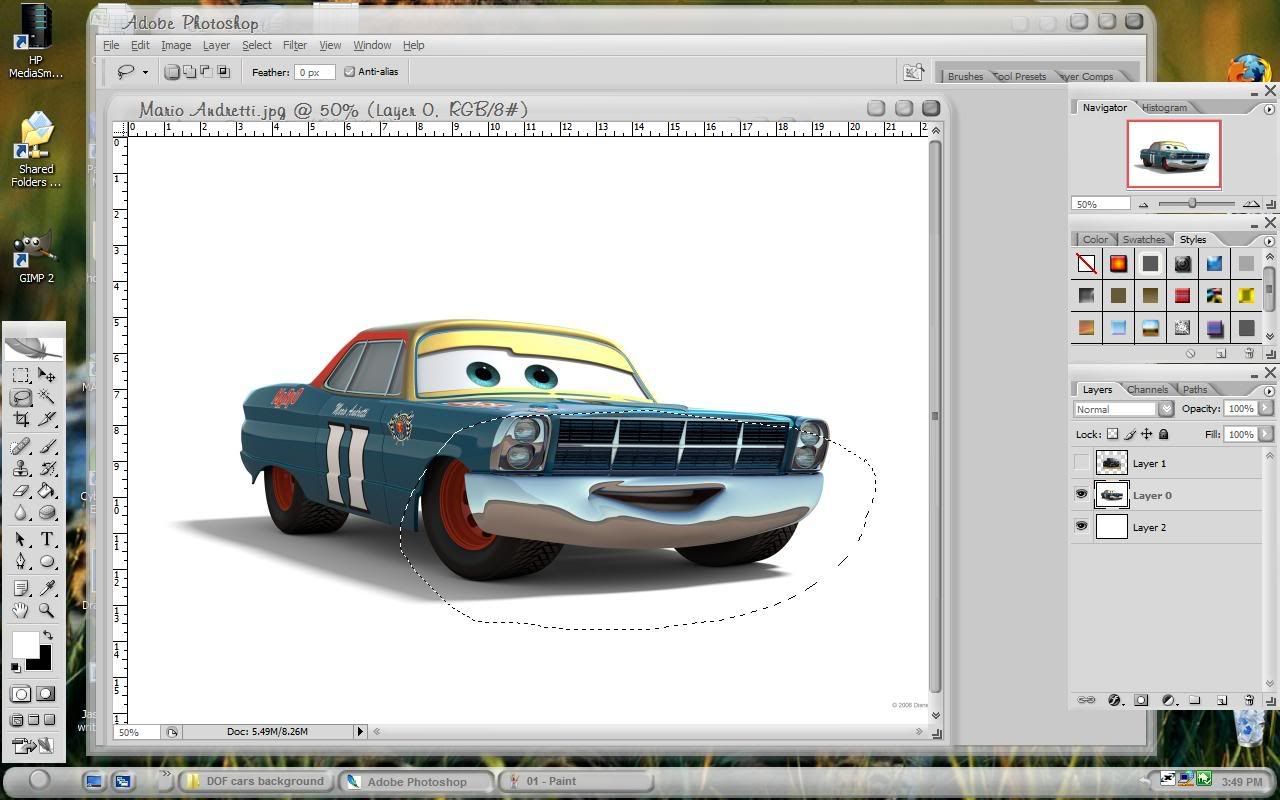
Hide your vehicle's layer and using the lasso tool, make a selection around the Cars character's mouth. Copy
ctrl+c and paste it into a new layer
ctrl+v. It's better to not make the selection too precise. The extra material around the mouth may be needed for blending purposes.
 step 3
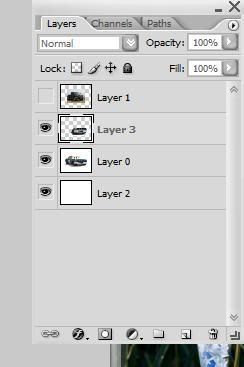
repeat step 2 with the eyes of the Cars character.

 step 4
Move both these new layers above your vehicle. And make your vehicle visible again. You can also hide the Cars character layer now. From here on out, we wont be using it.
 step 5
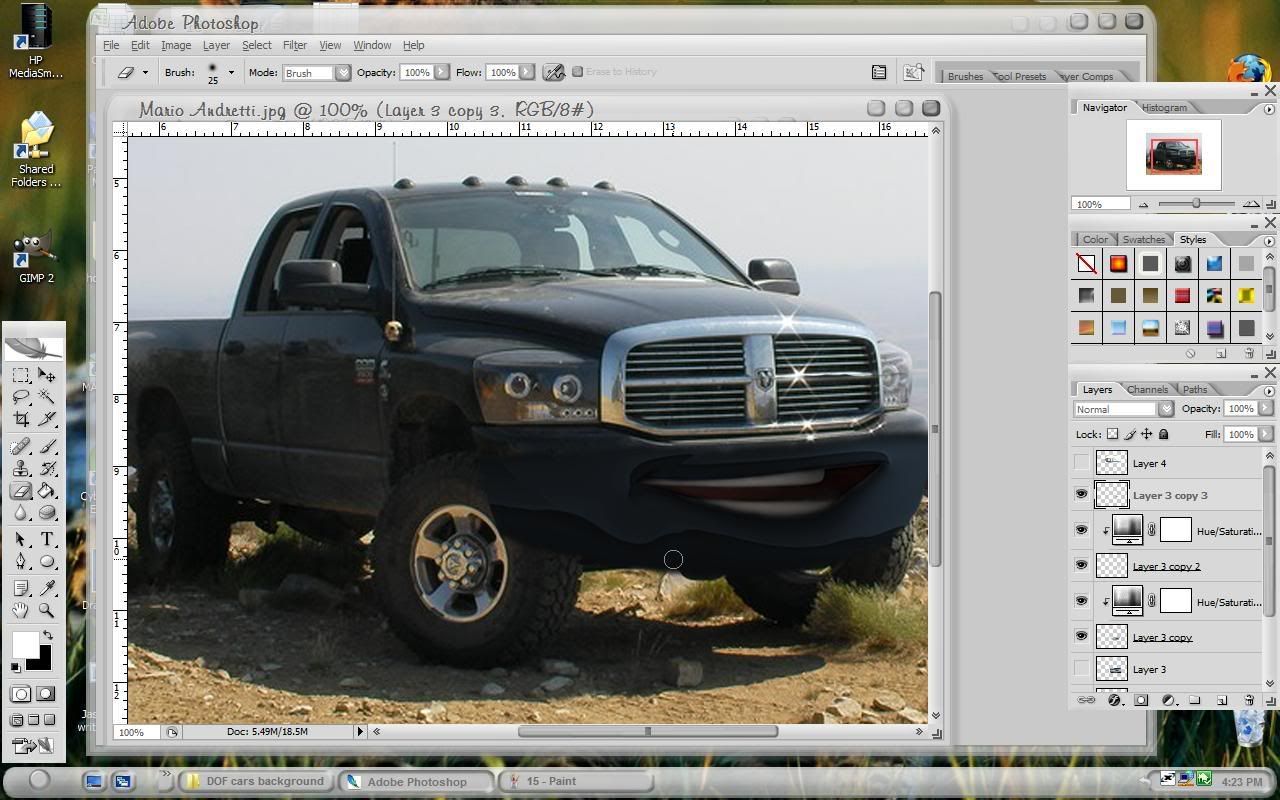
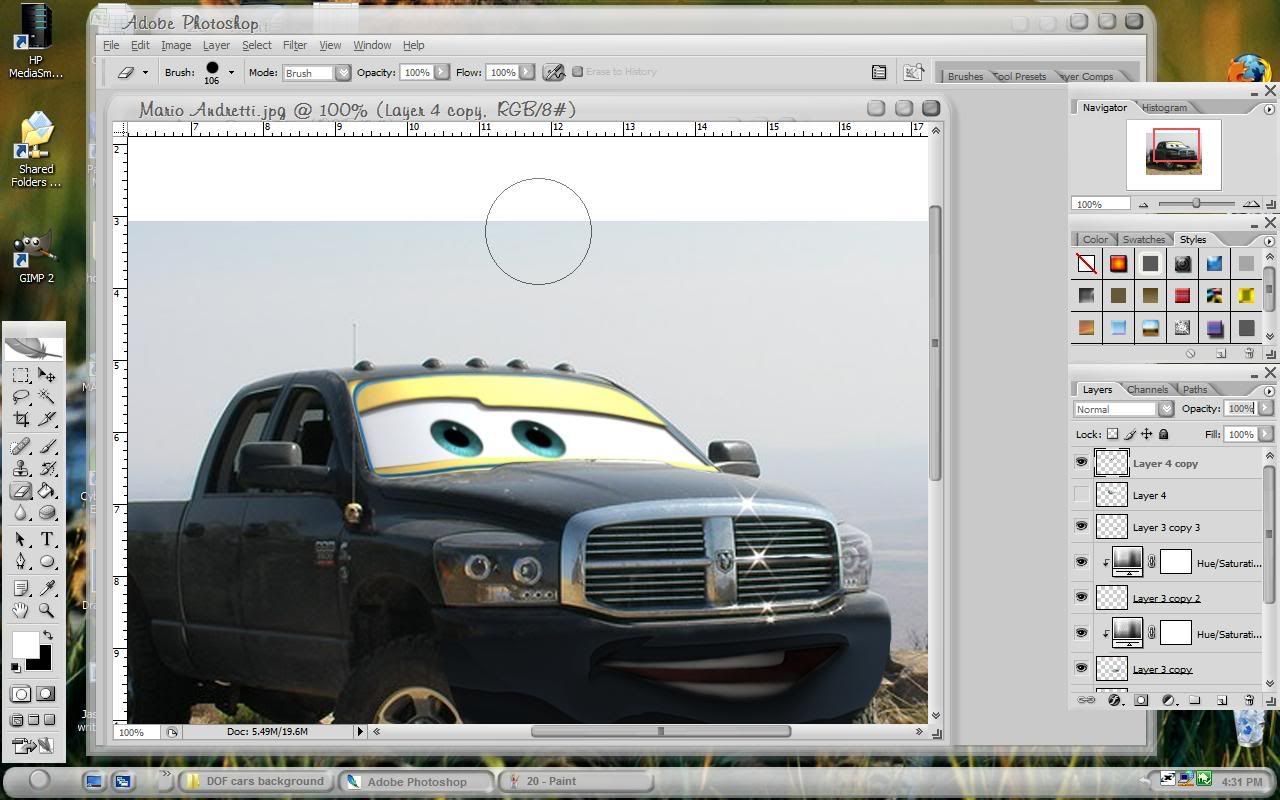
Hide the eyes layer and set the opacity of the mouth layer to around 60%.

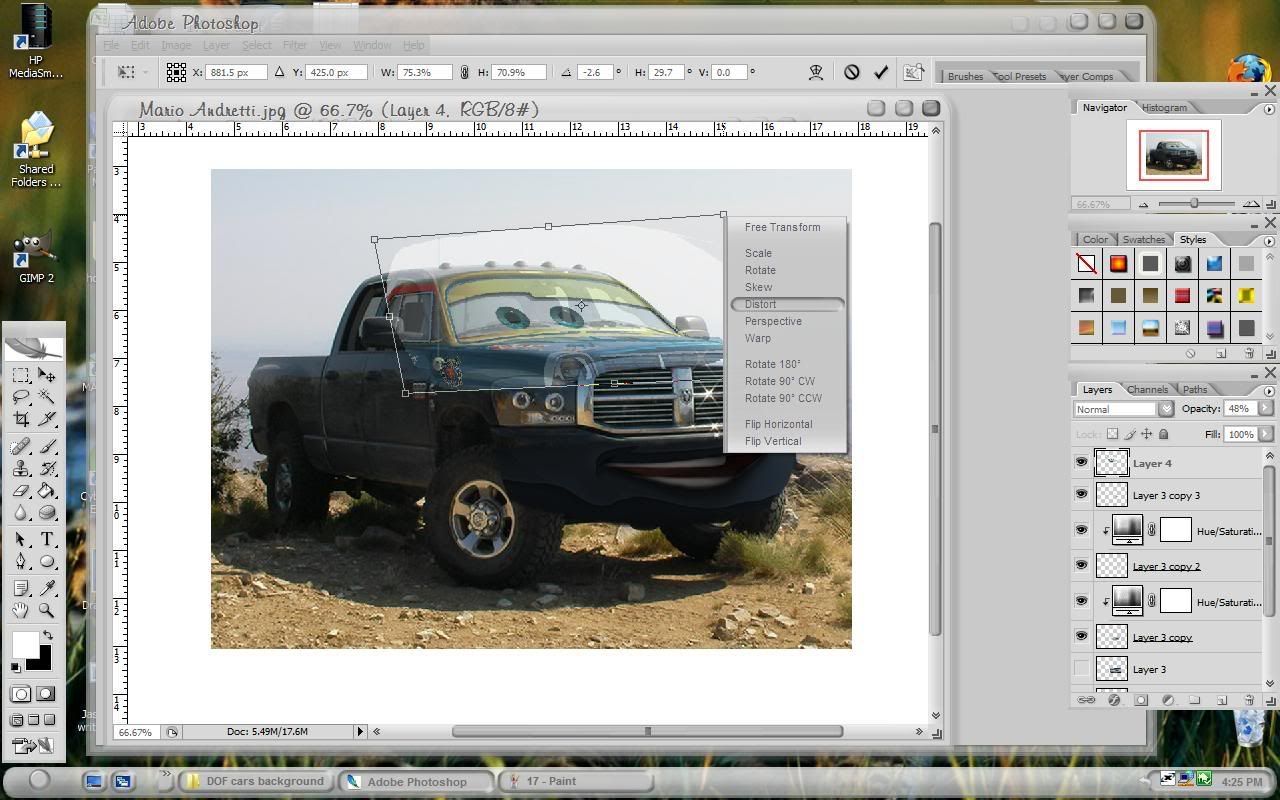
free transform, distort, flip and warp it to your desires.
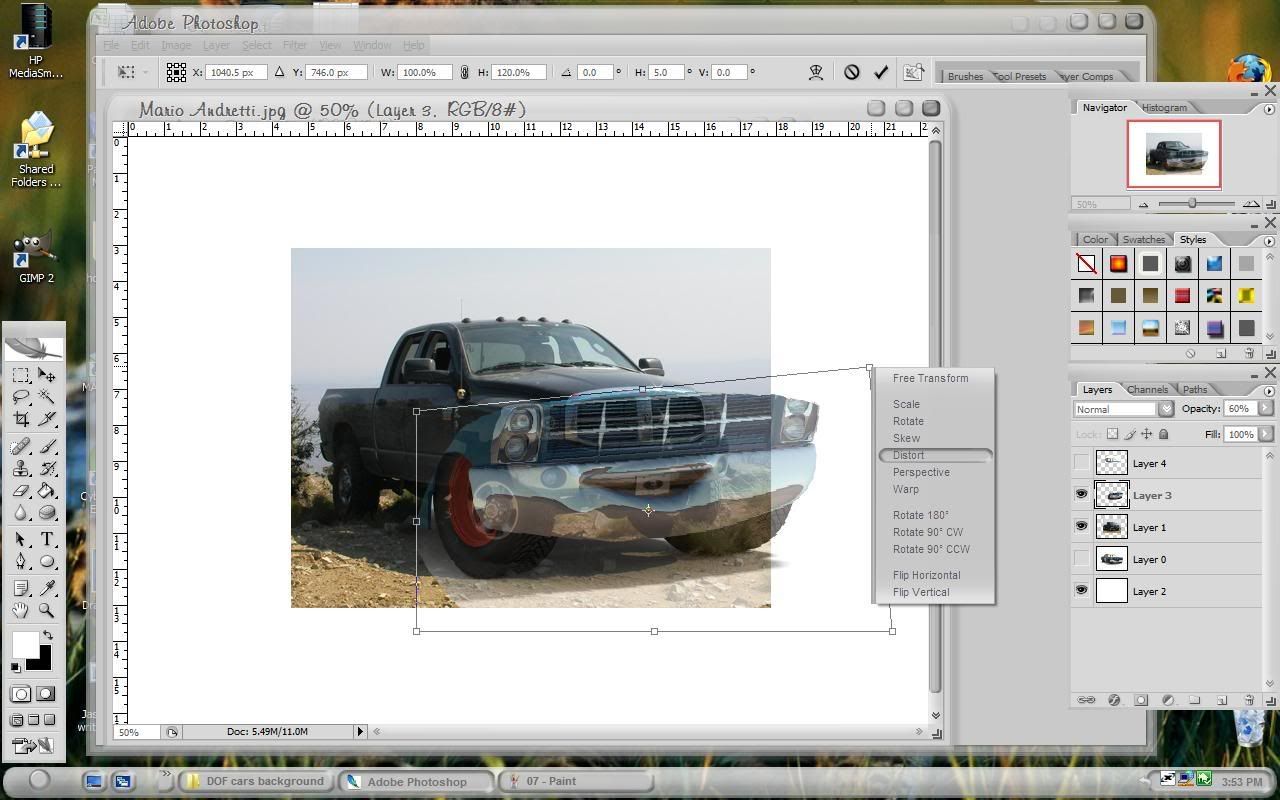
and once you have it set where you like it, press
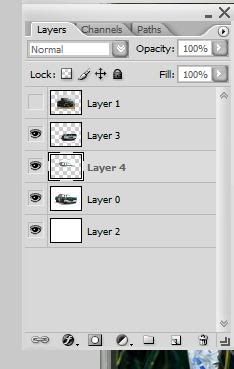
ctrl+j to copy the layer. Then hide the original so it's protected.
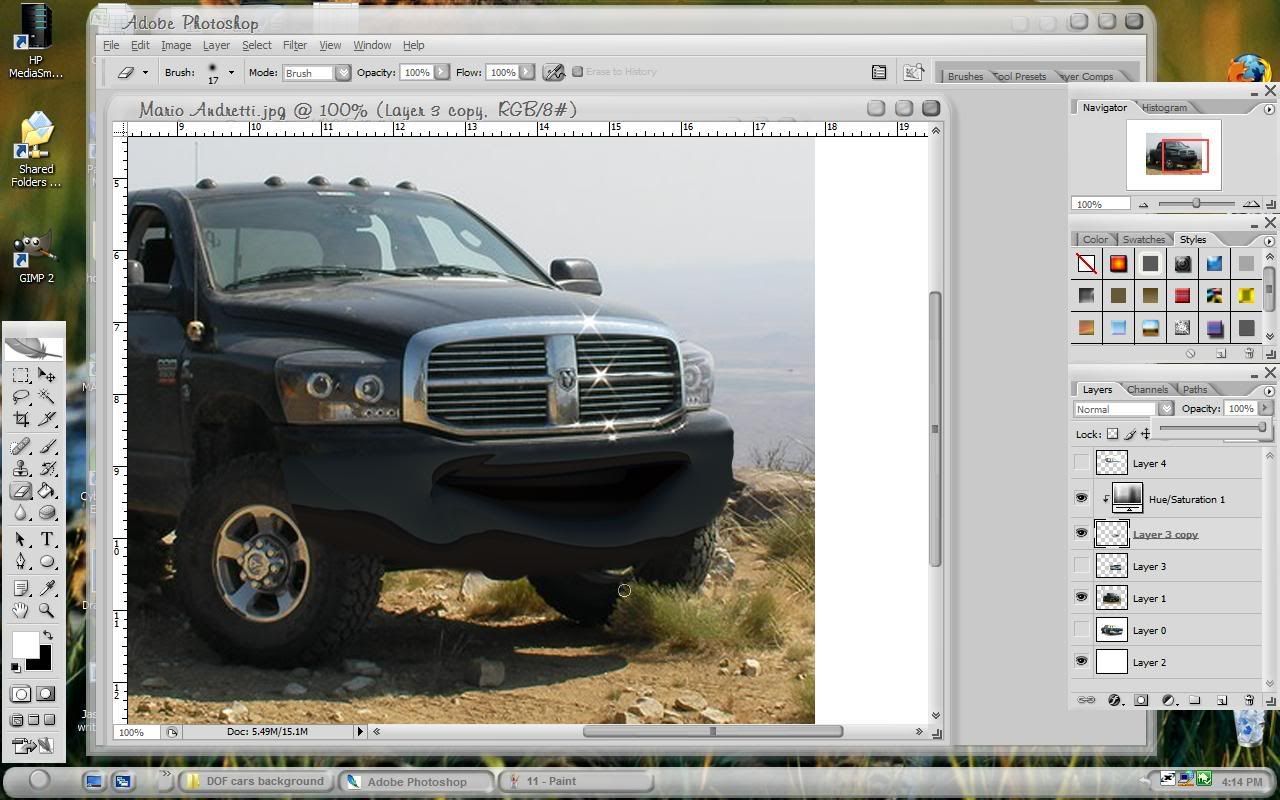
step 6start erasing the excess material around the mouth, following a body line of the truck. This line will help us blend the image together.
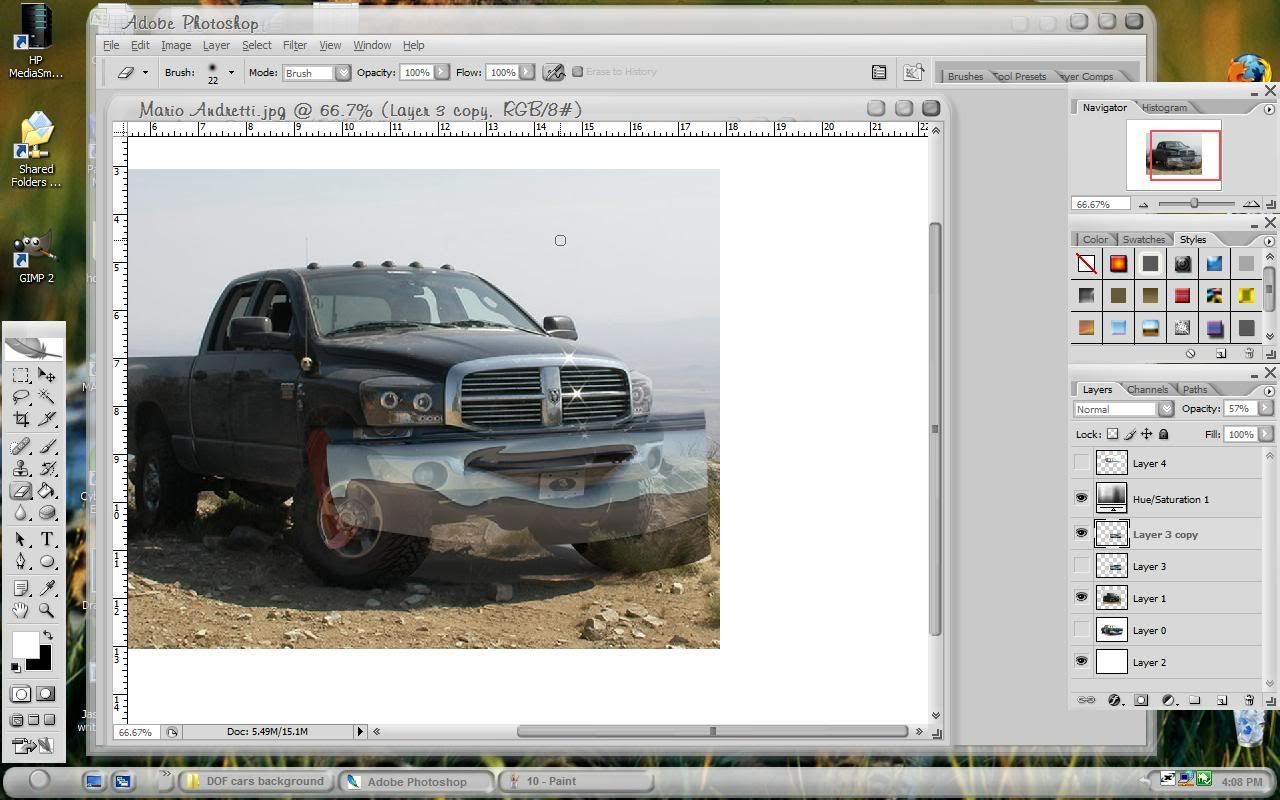
add a hue/saturation layer and adjust the settings to get close to color matching. This will help you blend and erase parts of the image.

using a soft erasure will help hide the transition too
Now you notice that the drives side is a brighter color than the passengers side. To compensate for this, we'll duplicate the mouth layer, move it above the hue/saturation layer and we'll add another hue/saturation layer to it. This time, adjust the color so that it matches the drivers side.
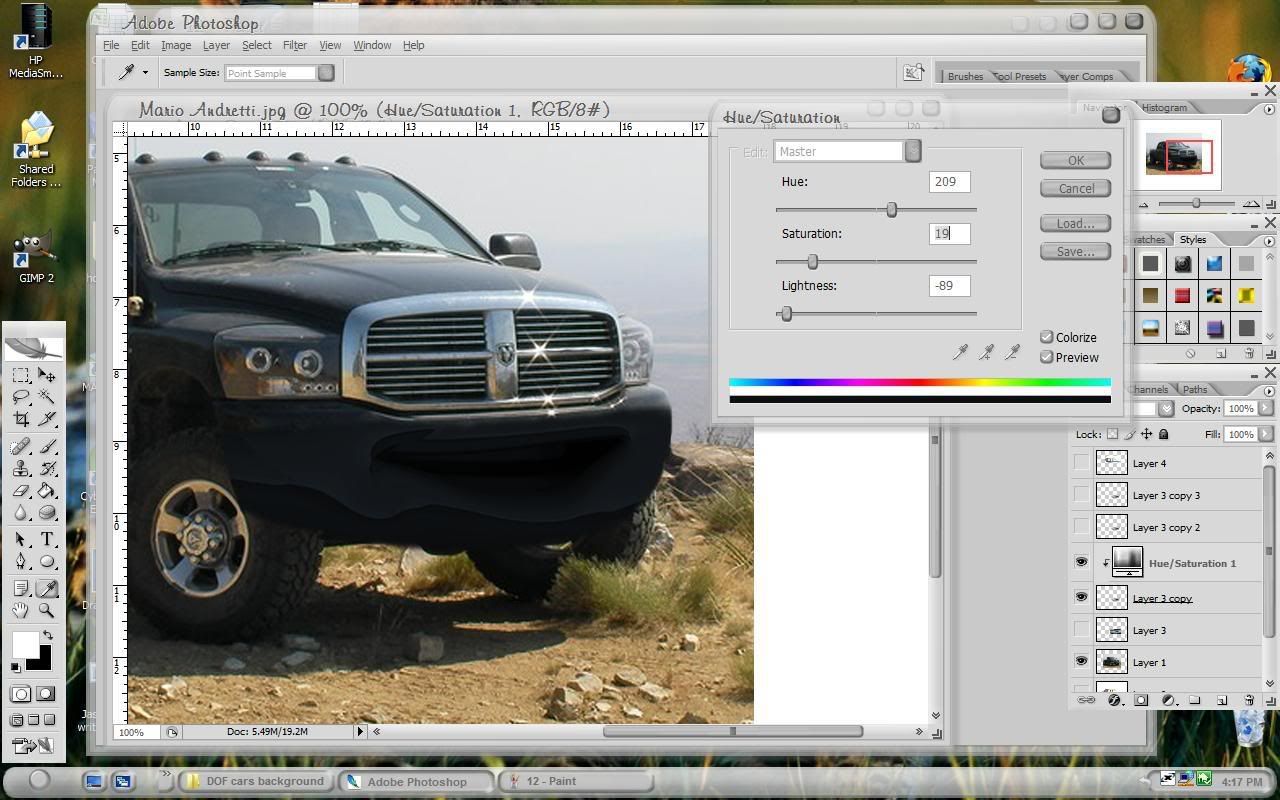
Blend the two together by using a huge soft erasure and erasing part of the new mouth layer.
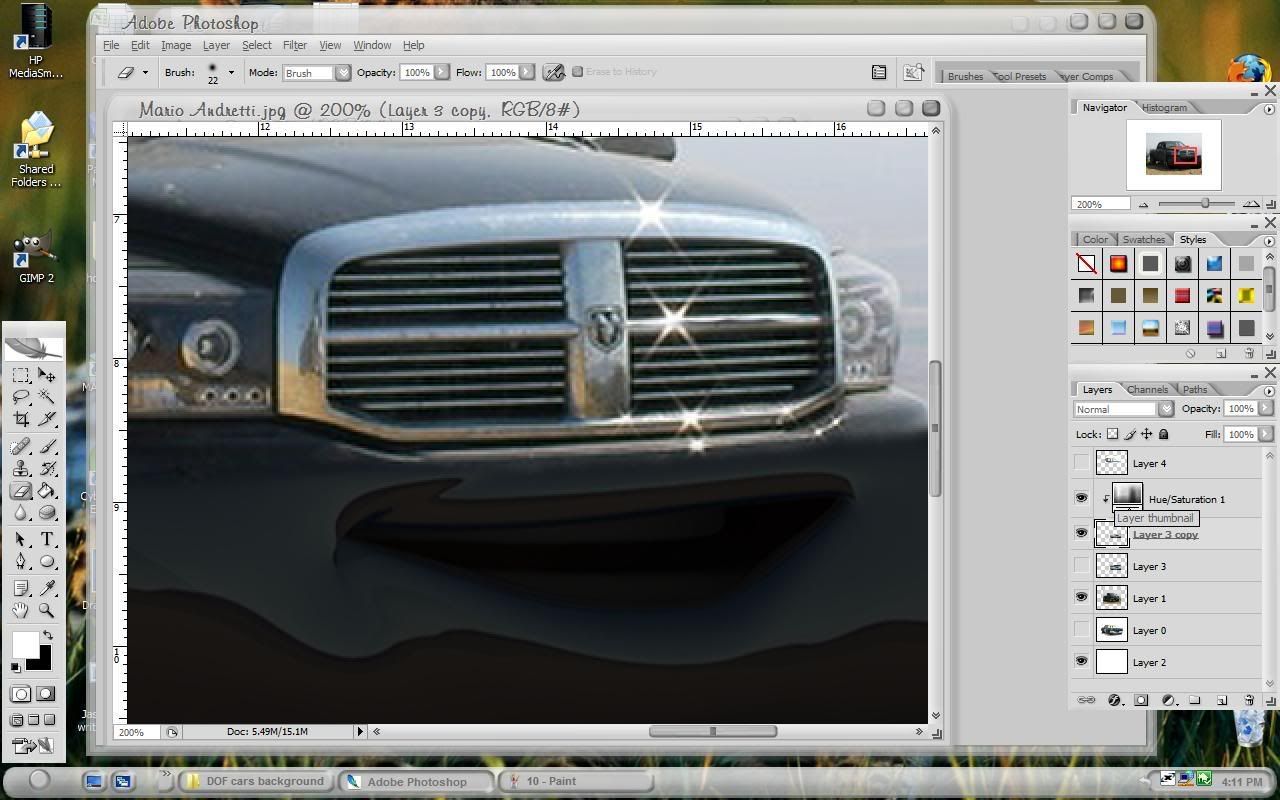
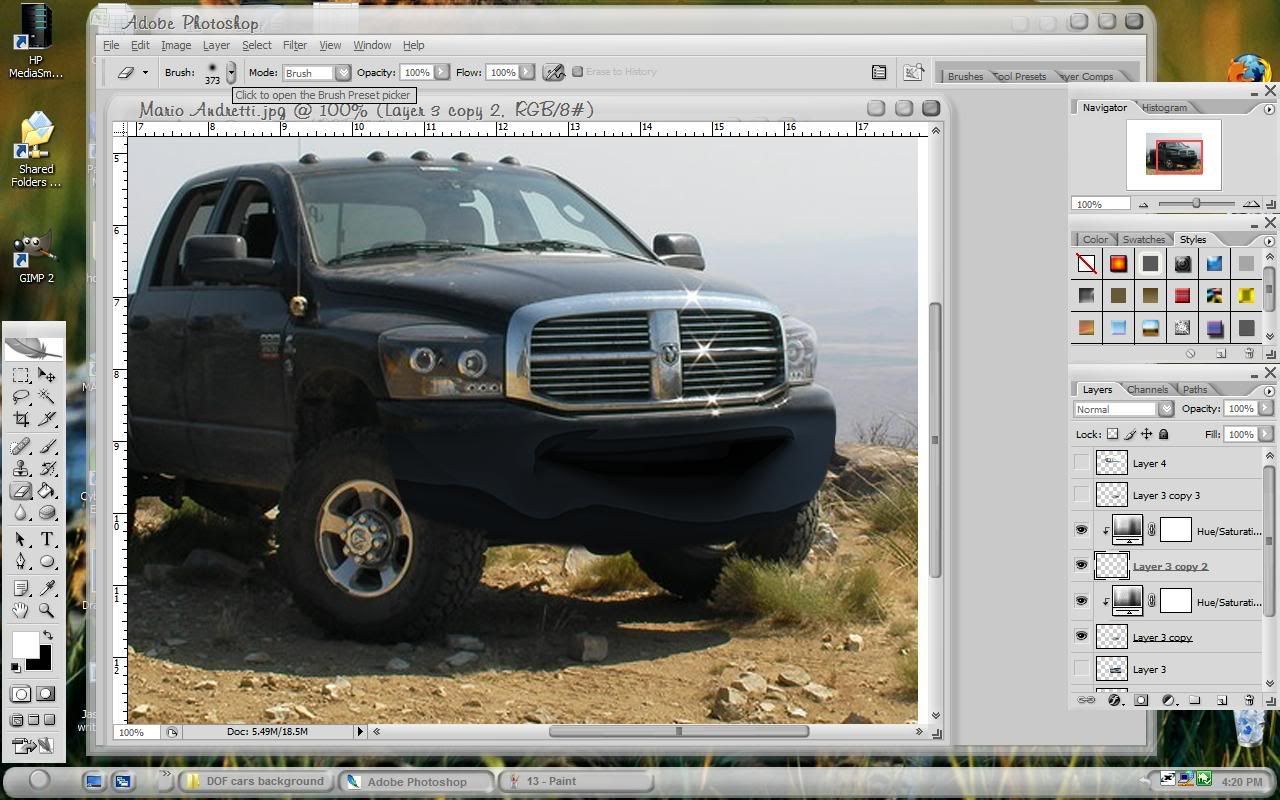 step 7
After adjusting the color, we lost some detail in the mouth. It looks like a black hole right now. So lets duplicate the original mouth layer and add it to the top of the stack. Then erase all but the mouth area.
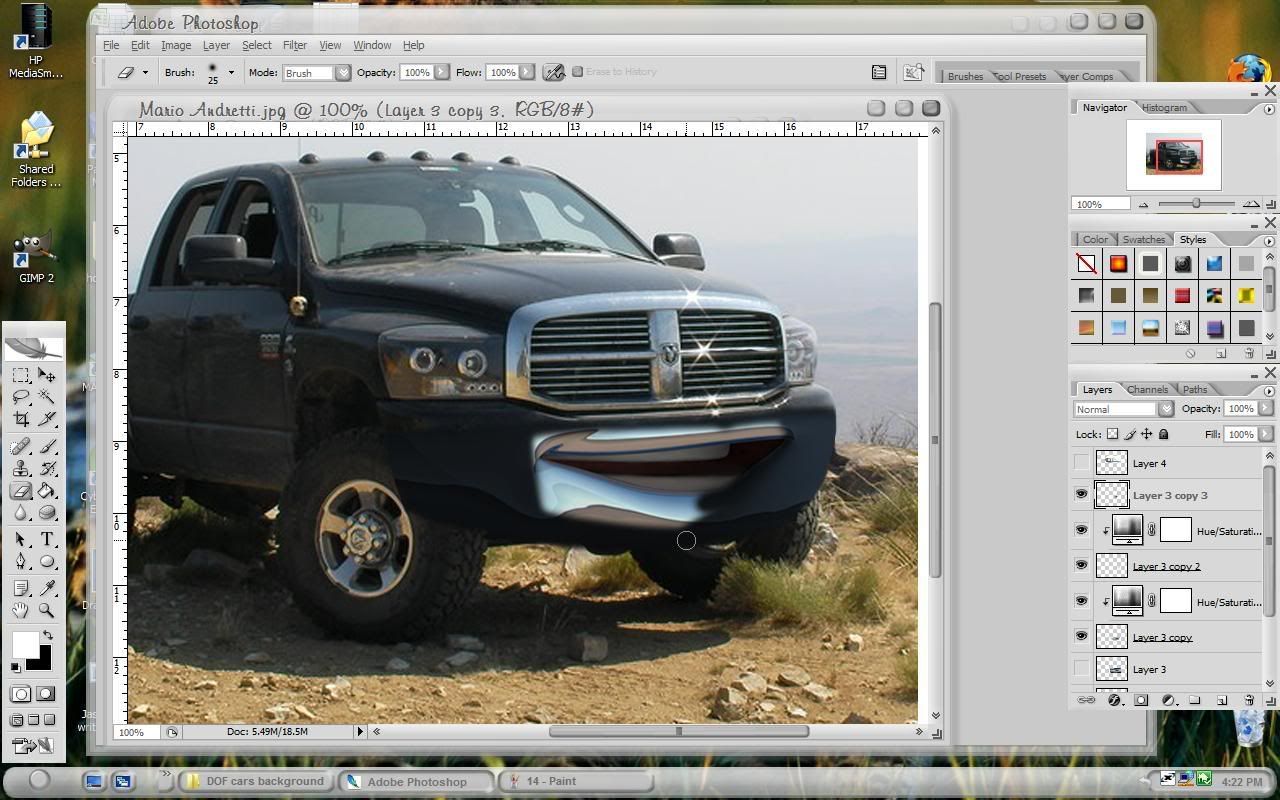
We are now finished with the mouth area.
there's still some blending issues, but hopefully those will disappear in a later step.
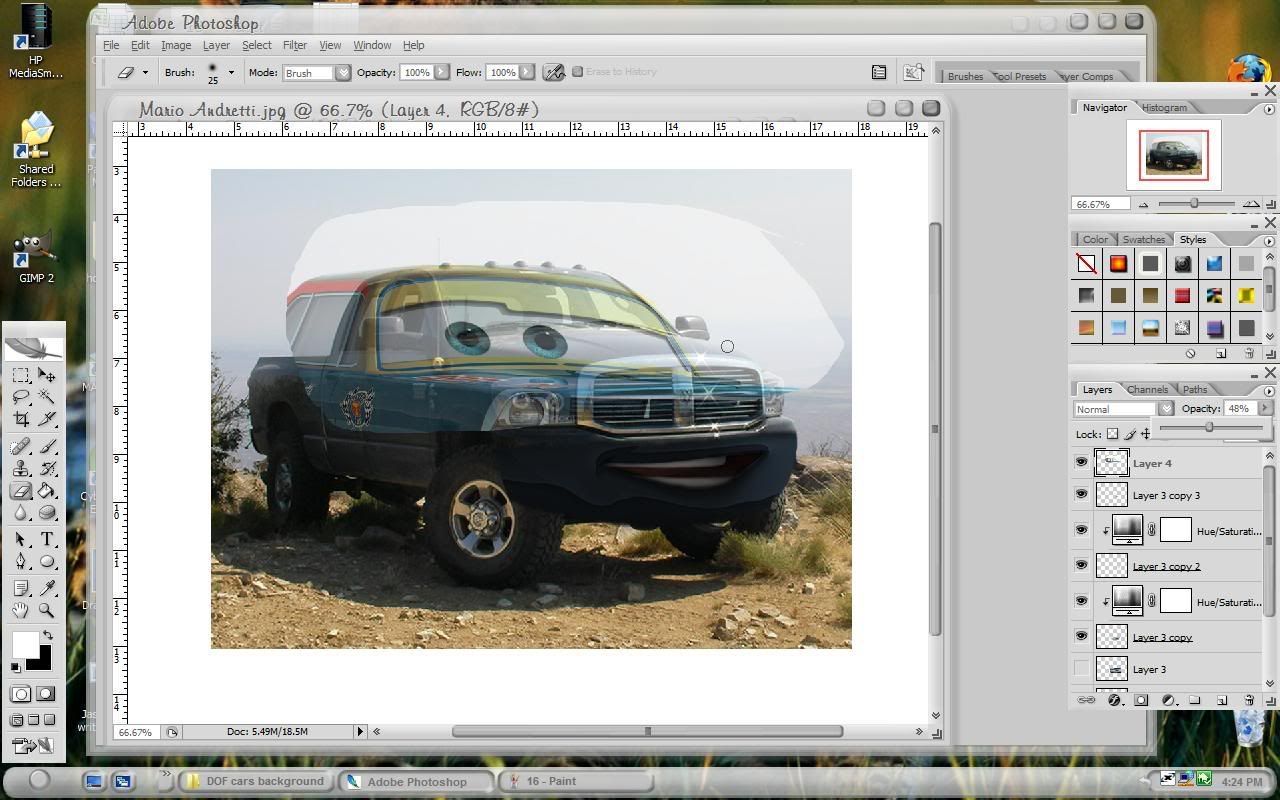
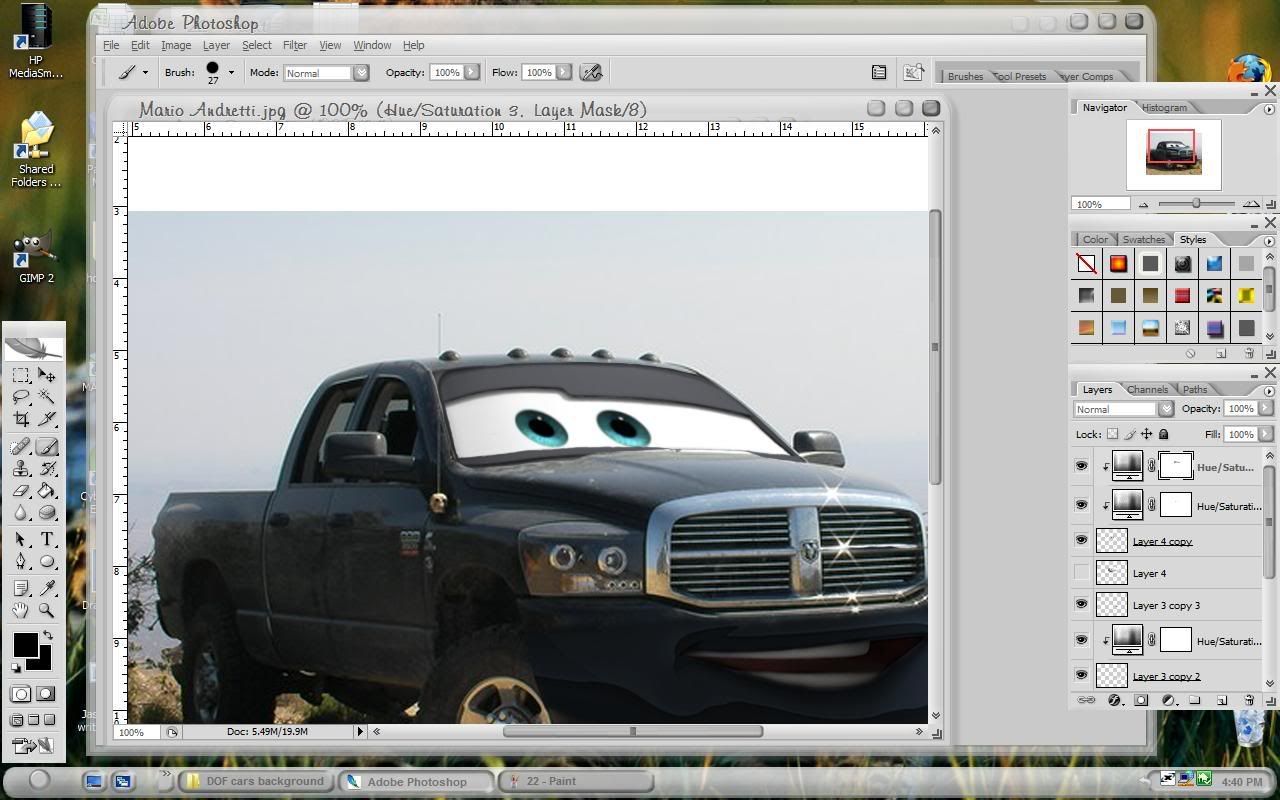
step 8Time to move on to the eyes. Make them visible and set the opacity to around 50%. Again, use free transform, distort, flip and warp to position the image nicely. Then copy the layer with
ctrl+j.
 step 9
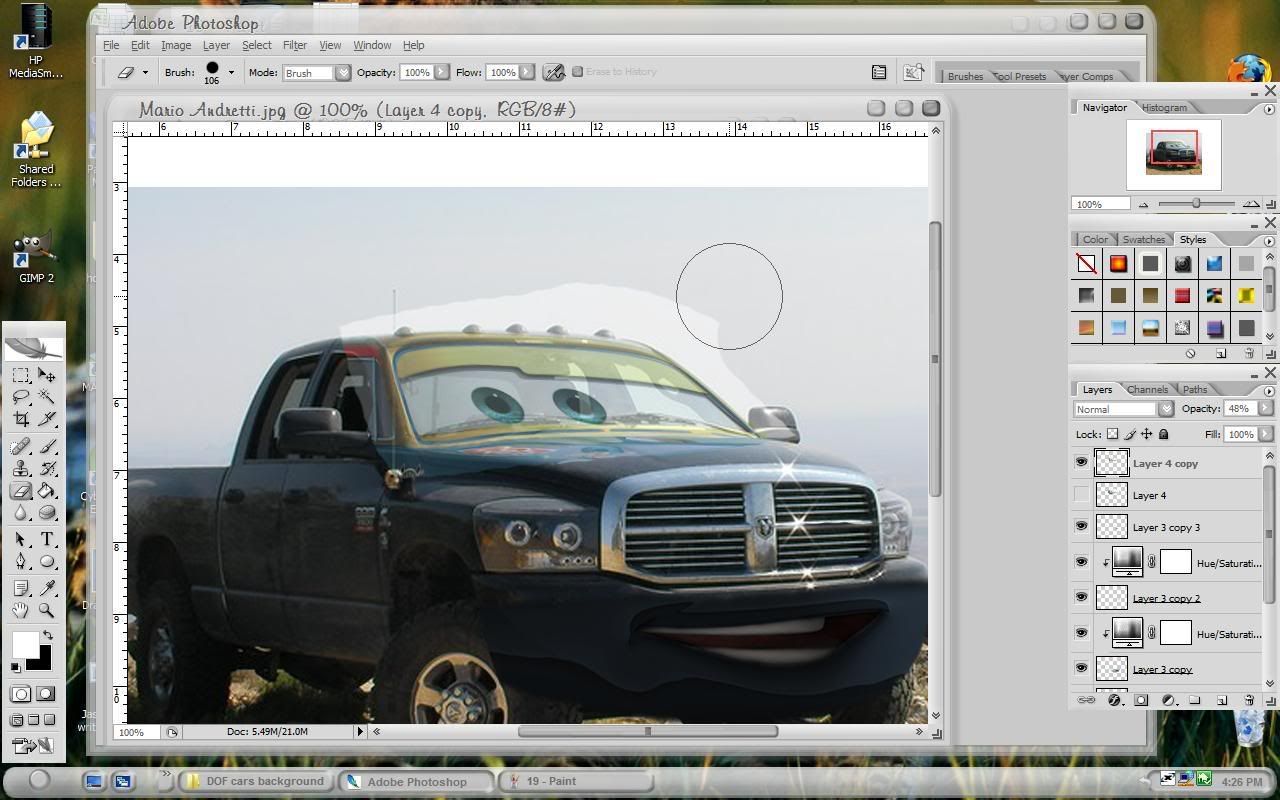
Then start erasing all the excess. This time use a sharp erasure and follow the body lines of the truck. We want this too look likes its set into where the windshield is.
 step 10
Now, add a hue/saturation layer and adjust the color to match.

Now we need to select the hue/saturation layer's mask. Then paint over the eyes.
 step 11
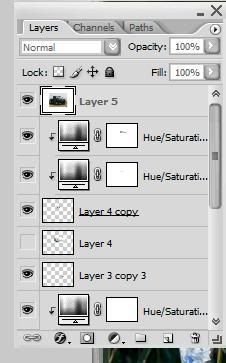
The image is almost done, but we need to make the rest of the truck look a little cartoonish to match the mouth and eyes. Do this by creating a new layer above all the other layers and pressing
ctrl+shift+alt+j. Now using the smudge tool with a soft brush and 60% strength, go over the entire image except the tires and mirrors. Follow the curves and body lines of the truck. This is just to soften the lines and shadows of the image, so try not to warp the straight lines too much.
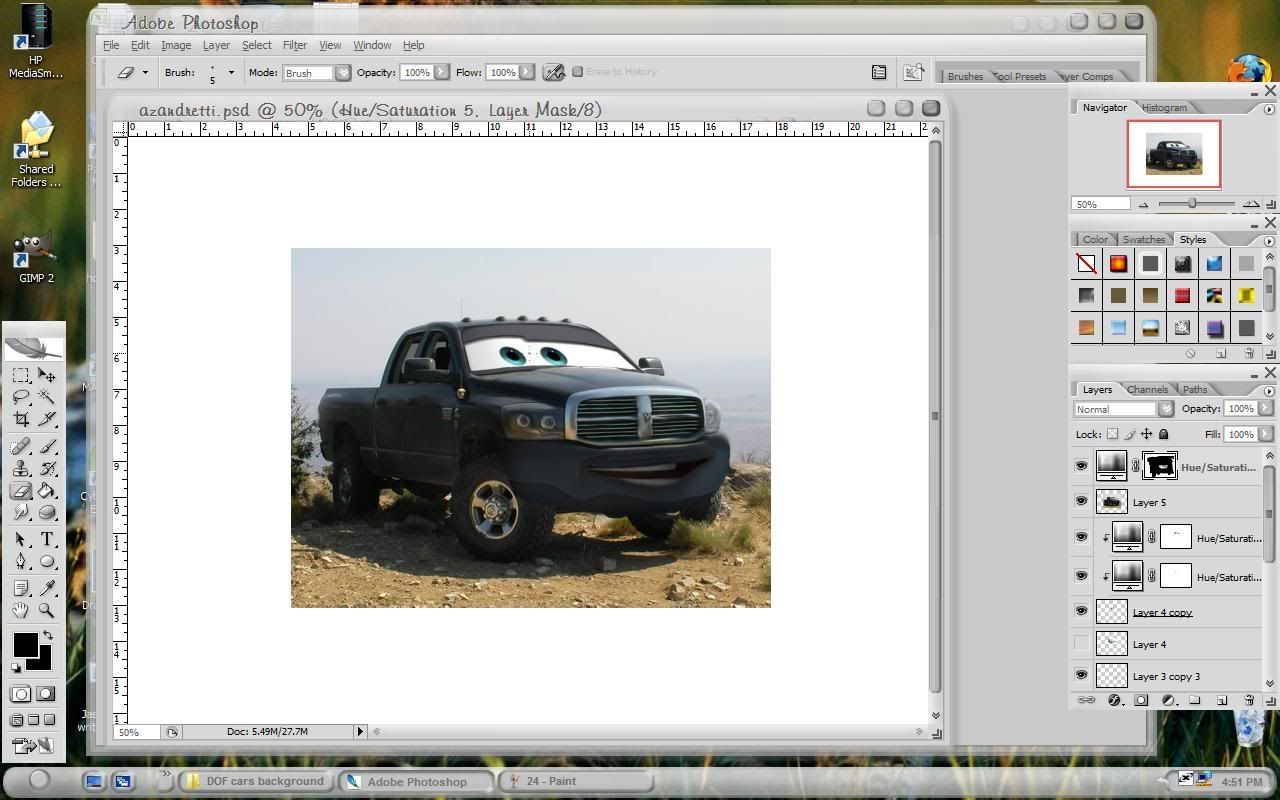
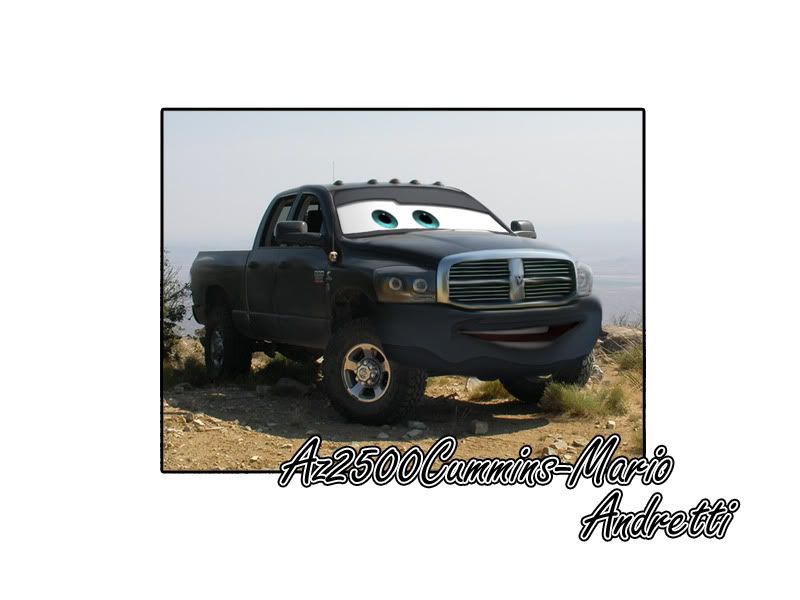
You can also warp part of your vehicle if the Cars image doesnt blend nicely. Below, I warped the bumper around the mouth instead of blending the images together.
cheers,

 Topic: Lesson 9: Cars Movie Effect (Read 4579 times)