For a while when I engage my parking brakes I have to press my pedal all the way to the floor and even then it barely grabs.
Finally I decided to adjust them and decided to share it with you guys.
There are a few different ways to do this, I find this way to be the easiest. Total time is approx. 1 hour.
This was done on an '03 Ram 2500 5.9L CTD.
First step is to block your front wheels front/back since you will be raising the rear end with the parking brake disengaged.
After the wheels are blocked, break the rear lug nuts loose, raise the rear end and support with jack stands and remove the wheels/tires...
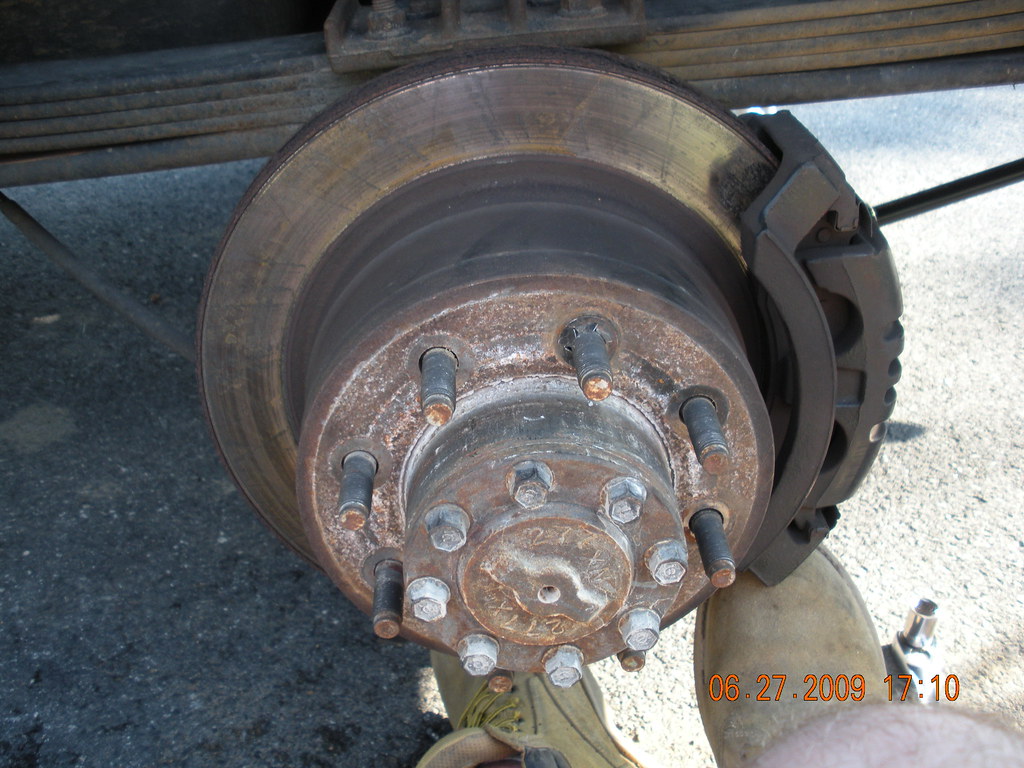
Next remove the caliper bracket with the caliper intact using a 13/16 socket...

Best place I found to store the caliper assembly is on top of the axle behind the rotor leaning against the shock so it doesn't fall.
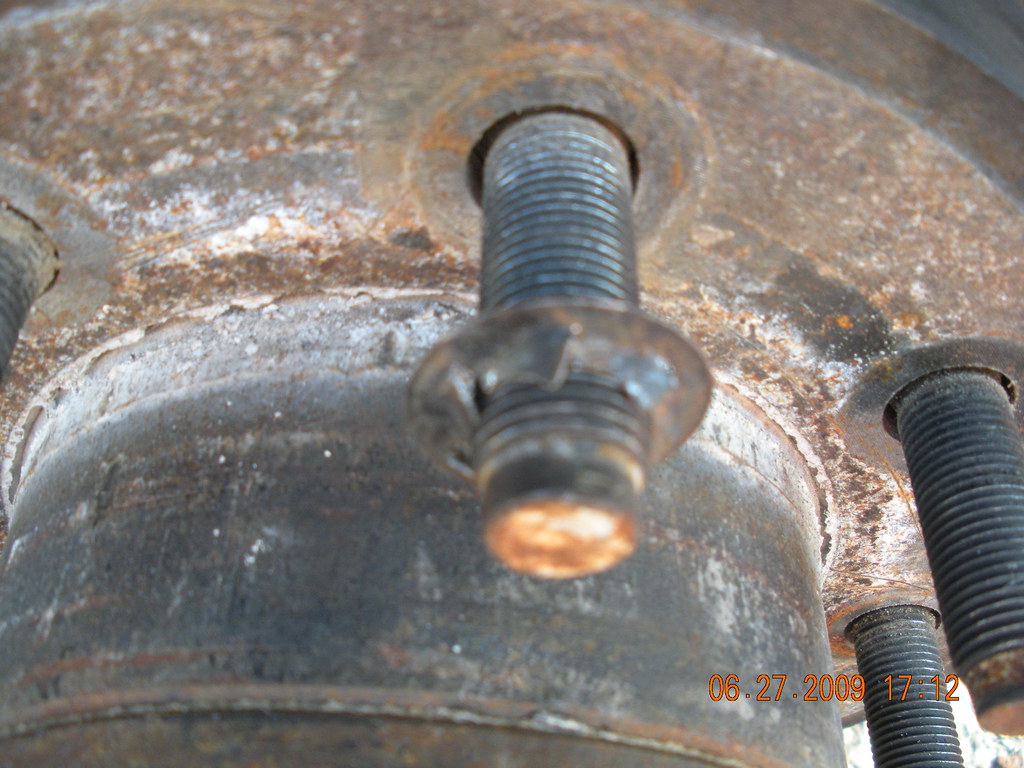
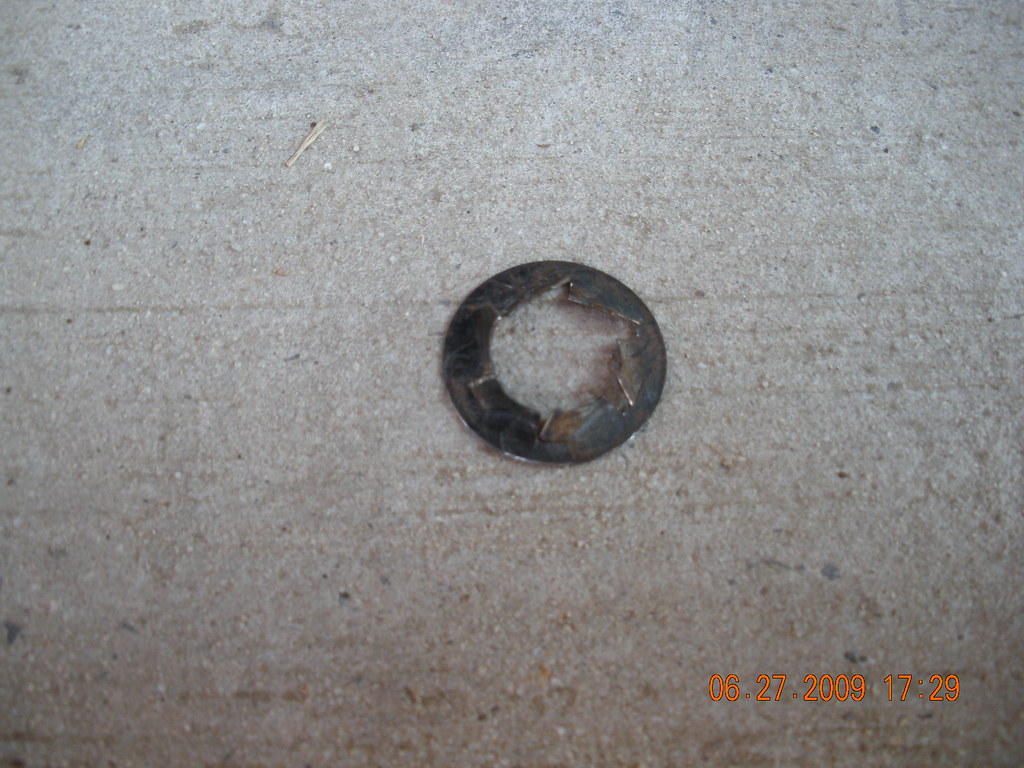
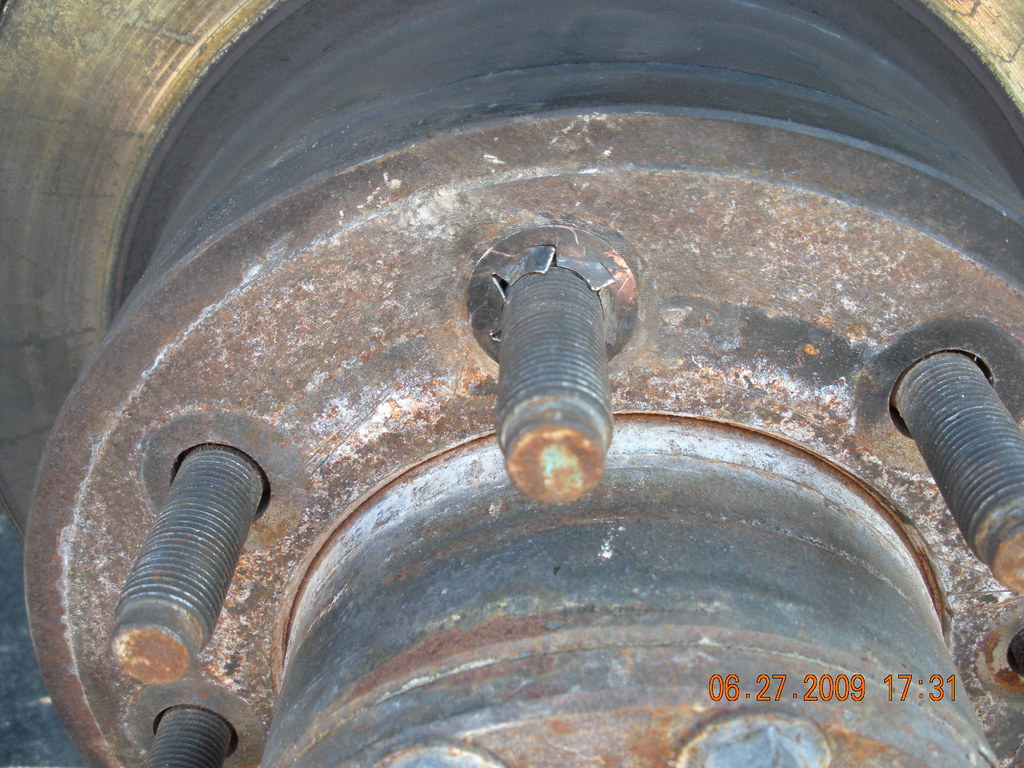
Next, since I don't know the technical term I will refer to these as 'little things,' but there are 3 on each side on the wheel studs...
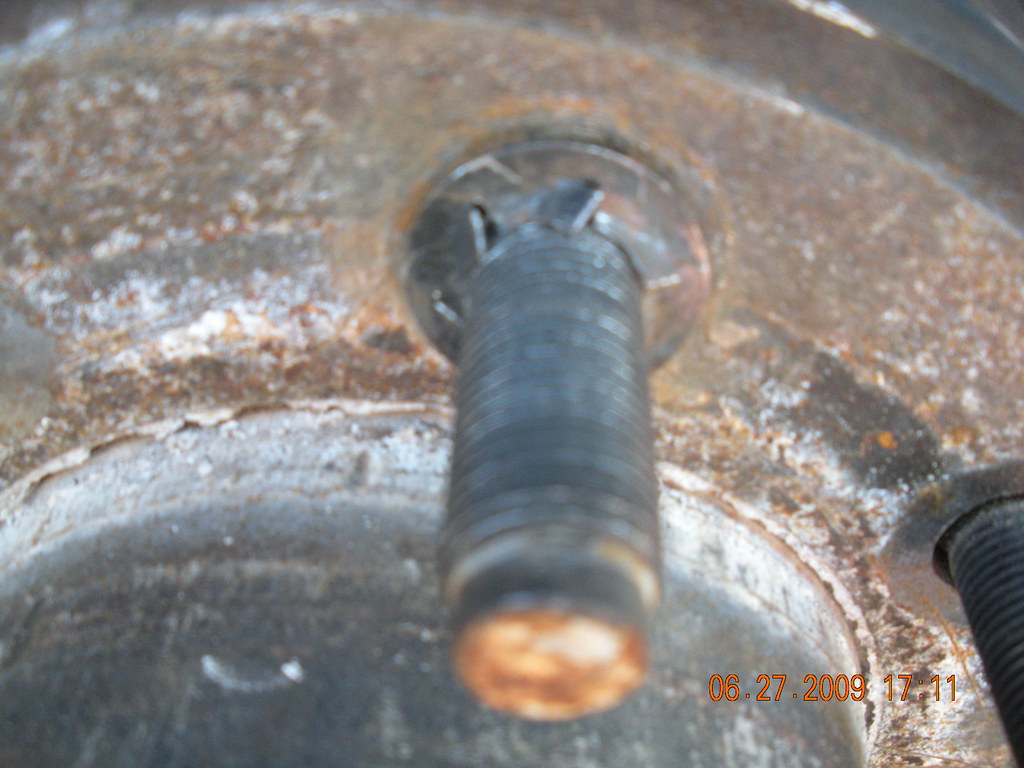
The easiest way to remove them is to bend the tabs up and away from the wheel stud and you can un-screw them from the stud...
Here you need to double check that your parking brake is dis-engaged. If it's not you will not be able to remove the rotor/drum assembly.
You will probably have to hit the backside of the rotor a few times with a
RUBBER MALLET only. Hit the section where the caliper assembly was then rotate it and keep doing this until you can remove the rotor.
Once the rotor is removed you can see how the inside is a drum/brake shoe assembly for your parking brakes...

This is the inside of the rotor (drum) where the brake shoes make contact...

This is the star screw that you will be turning for adjustment...
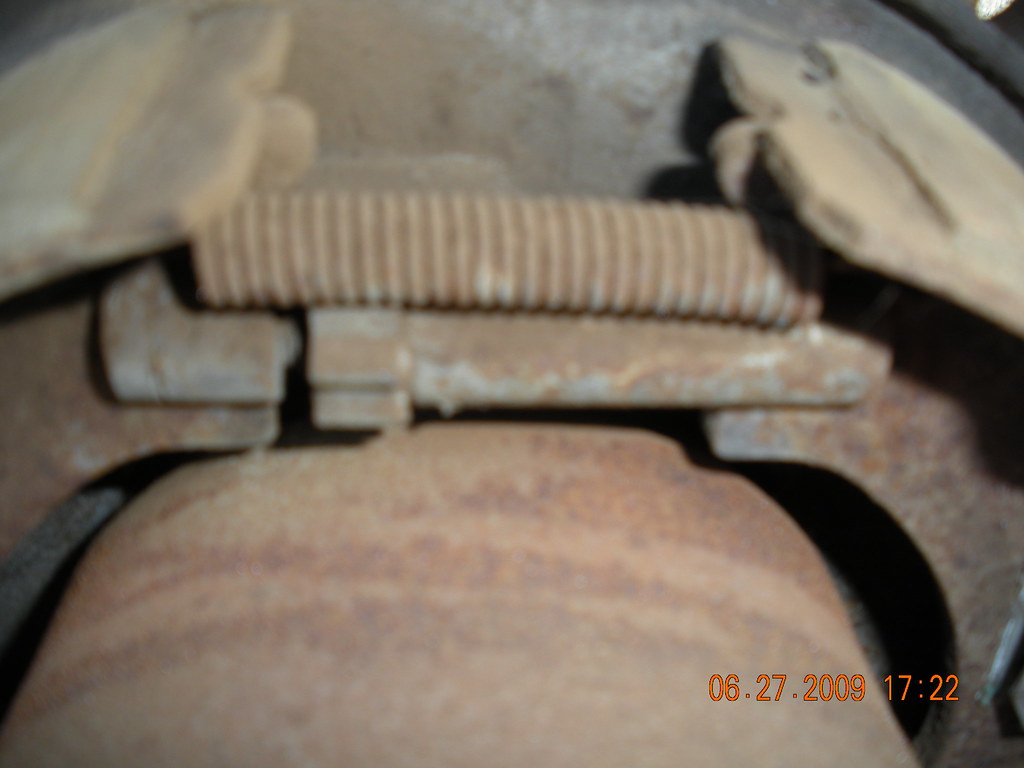
It is on the top side of the hub on the driver's side of the truck and the bottom side of the hub on the passenger side. To adjust the shoes out you need to turn the screw counter clock-wise (if looking from the rear to the front of the truck) same for both sides. Depending on how much adjustment your brakes needs will determine how many turns you need.
Start with 1 turn and then try to slide your rotor back on. If the rotor slides on easily, then remove it and adjust the shoes out another half turn.
If the rotor doesn't go on easily then pull it back off and turn the screw clock-wise (back in) a 1/2 turn.
You want the rotor to go on and come off easily. You want the brake shoes adjusted out as far as possible without there being any drag when you install or remove the rotor/drum assembly or the parking brakes will be dragging while you drive.
Once your adjustments are made it's time to put it back together in reverse order. Put the rotors on. Remember those 'little things?'

Before putting them on tap those tabs back down with a hammer...
To install them you can just push them over the wheel stud...
Put the caliper bracket back on along with the wheels.
Now check your parking brakes.
I found this to be a very simple procedure that almost anyone can do with everyday tools. Like I said my brakes were
WAY out of adjustment and now I notice a
VERY CONSIDERABLE difference in pedal position when the parking brakes are engaged.
Before I could push the pedal all the way to the floor, now I can barely push it past 1/2 way.

 Topic: Parking Brake Adjustment (Read 17243 times)