Tools used:
(1) BFW
(1) 3/8 drive ratchet
(2) sockets Sizes: 10mm, 15mm
(1) 15mm wrench (open ended)
(1) pair of vice grips
(1) BFH
(1) PB blaster
(1) drop light
(??) drinks of choice
The pics start after getting the truck in the air and placing your jack stands. I usually place them under the front cab mount.
once the truck is in the air, for better room to move around and see what you're doing, remove the front wheels.
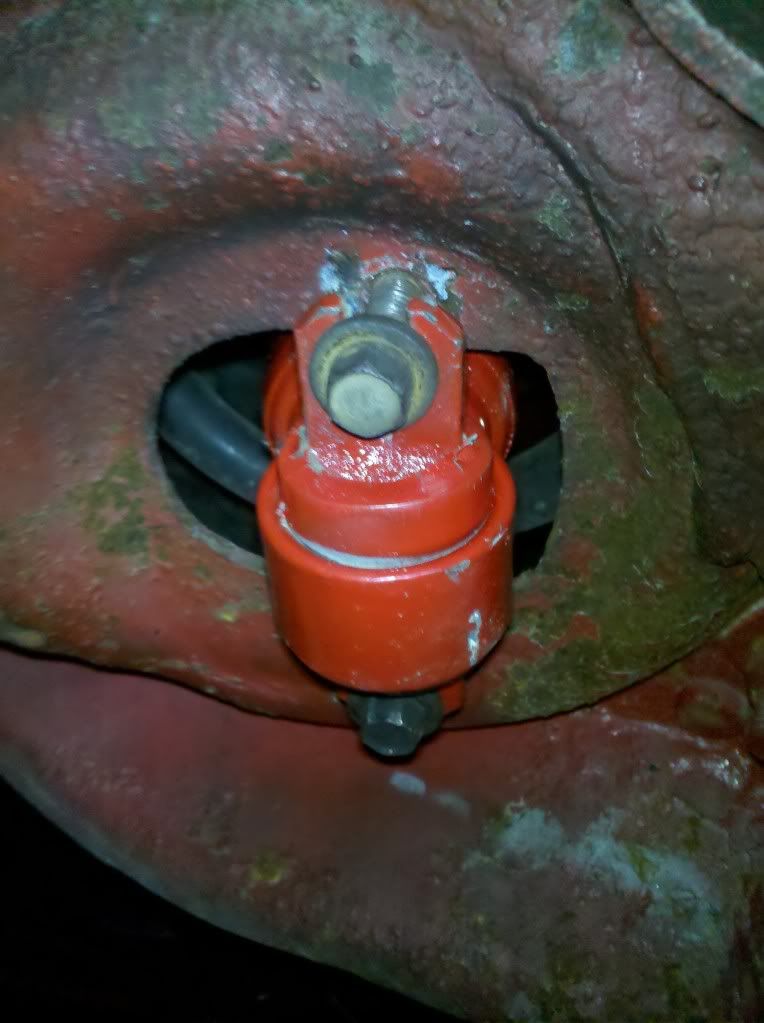
once the wheels are off, you should be able to notice 2 bolts and a nut keeping you from removing the shock.
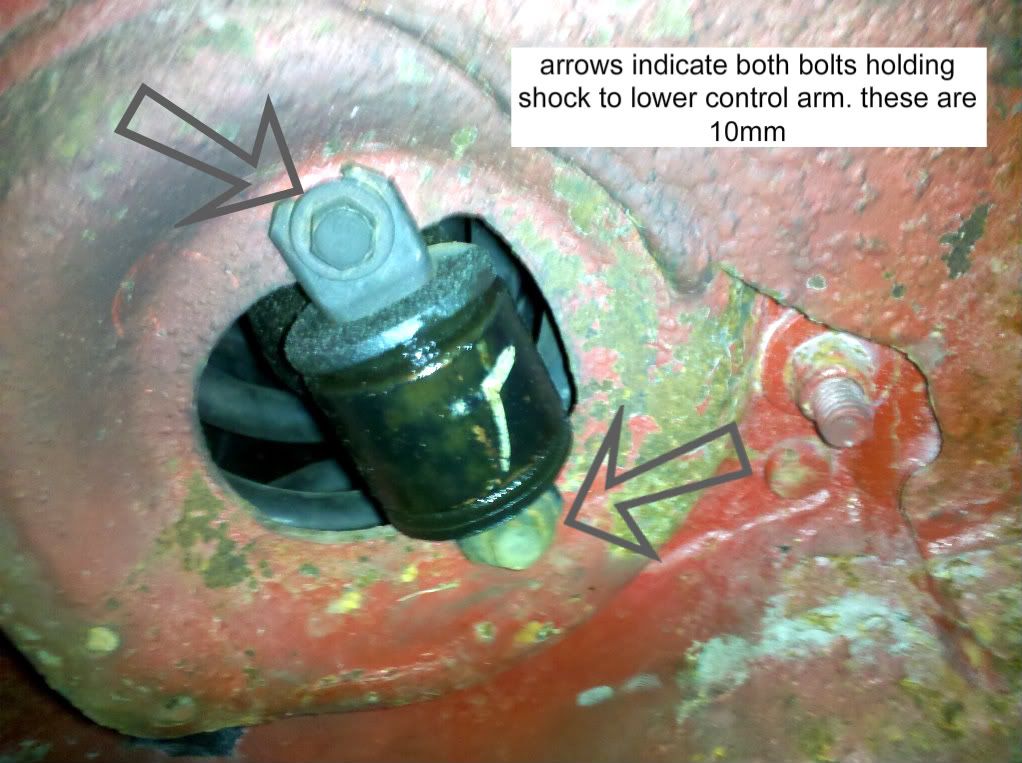
the trick i learned was to back out the lower two until the top of the bolt was flush with the nut on the inside of the control arm.
this allows the shock to drop down a little further and gives you more room to work with if you need to attach the vice grips to the shaft of the shock.
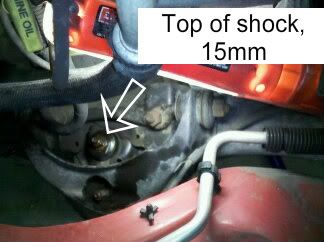
the vice grips are only needed to hold the shaft of the shock. as you try to remove the top bolt, the shaft wants to turn with it. if the vice grips can get ahold of the shaft well, then you can use it to counter the shaft from spinning.
another way to stop the shaft from spinning is by using the BFW to hold the very top of the shock. it's not threaded and won't hurt anything until you get the nut up enough that it hinders the nut from coming up any higher.
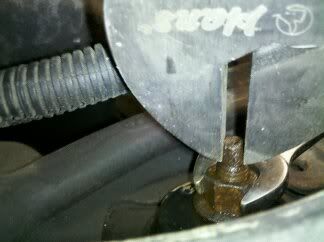
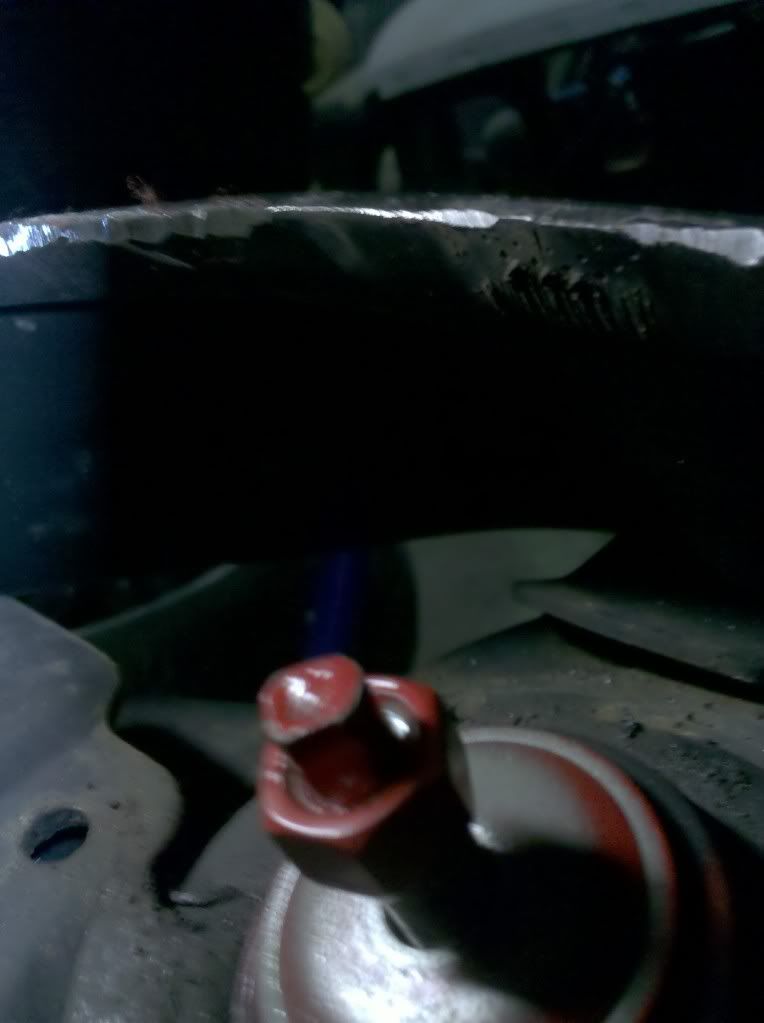
for me, i had to go an extreme route. the nut was so rusted to the shock shaft that i ended up using the angle grinder and took off the top of the shock to the bottom of the nut.
once all three of the nuts are removed, then if the shock doesn't just fall out, hit the top of the shock with the BFH downwards (towards the lower control arm)
if the shock still doesn't want to drop, then try removing the vice grips that were mentioned earlier

once the stock/ worn out shock is removed, then insert the new shock from the bottom of the control arm. once everything is lined up, put the nut of the top of the shock on enough to keep it from falling back down so you can secure the two lower bolts.
a difficult task is to line up the eye holes to the control arm. i used a smaller wrench and was able to realign the eyeholes to get the bolt in easier.
when tightening the lower bolts, go back and forth with them. tighten one side a few turns, then the other. this evens out the pressure from the new shock.
once those are tightened up, move onto the top bolt and secure that as tight as you can. i stopped once the shaft wanted to spin. i'm not worried about it because the bushing compressed a fair amount before the nut and shaft would spin together.
now put the wheel back on and tighten the lug nuts. then move onto the other side and repeat. once both wheels are back on the ground, the torque spec for the lugs nuts is 110 ft/lbs. and you're done after some cleanup.
 Topic: DIY: 3rd gen shocks (front) 2wd (Read 1847 times)